Step-by-Step Guide to Installing Windows Server 2019
Once you have your bootable USB drive ready, here’s how to install Windows Server 2019:
- Start your server as usual, insert the Windows Server USB, and then reboot the server.
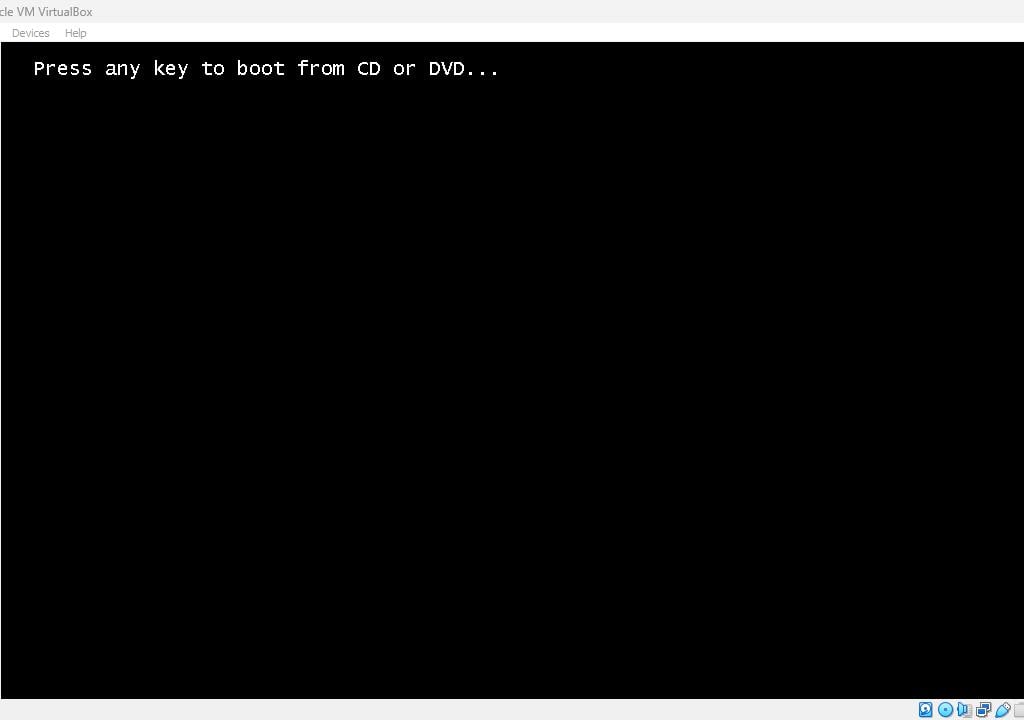
- Your server will boot from the USB. When prompted to Press any key to boot from CD or DVD, press any key.
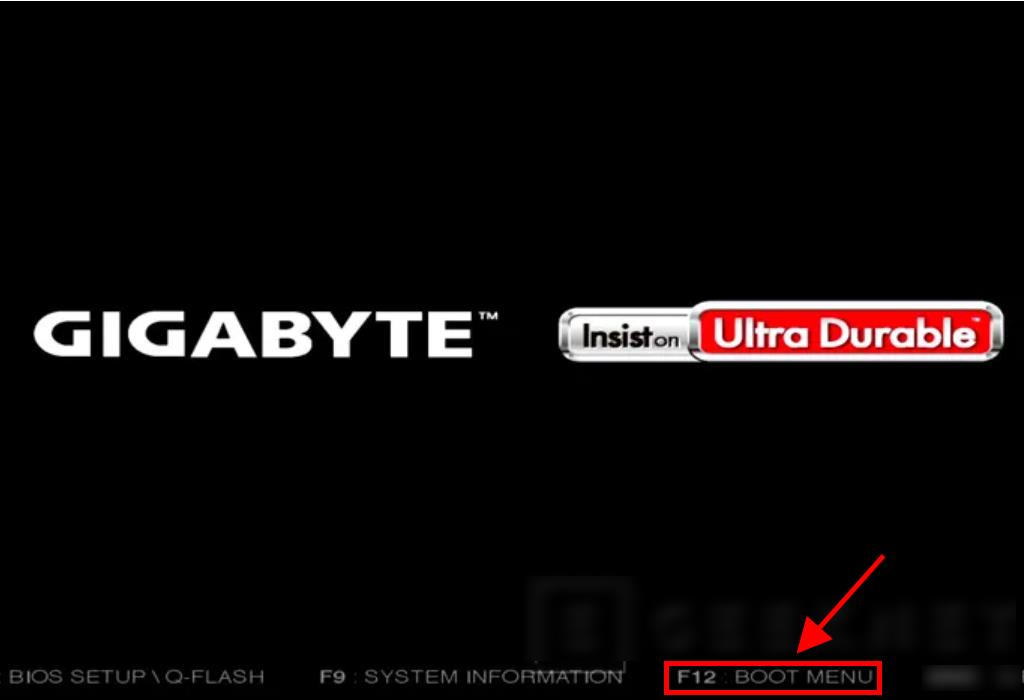
- Reboot your server and, when the manufacturer’s logo appears, press the key for the BOOT menu, which could be F2, F10, F11, F12, or Del.
- Set the boot order to USB.
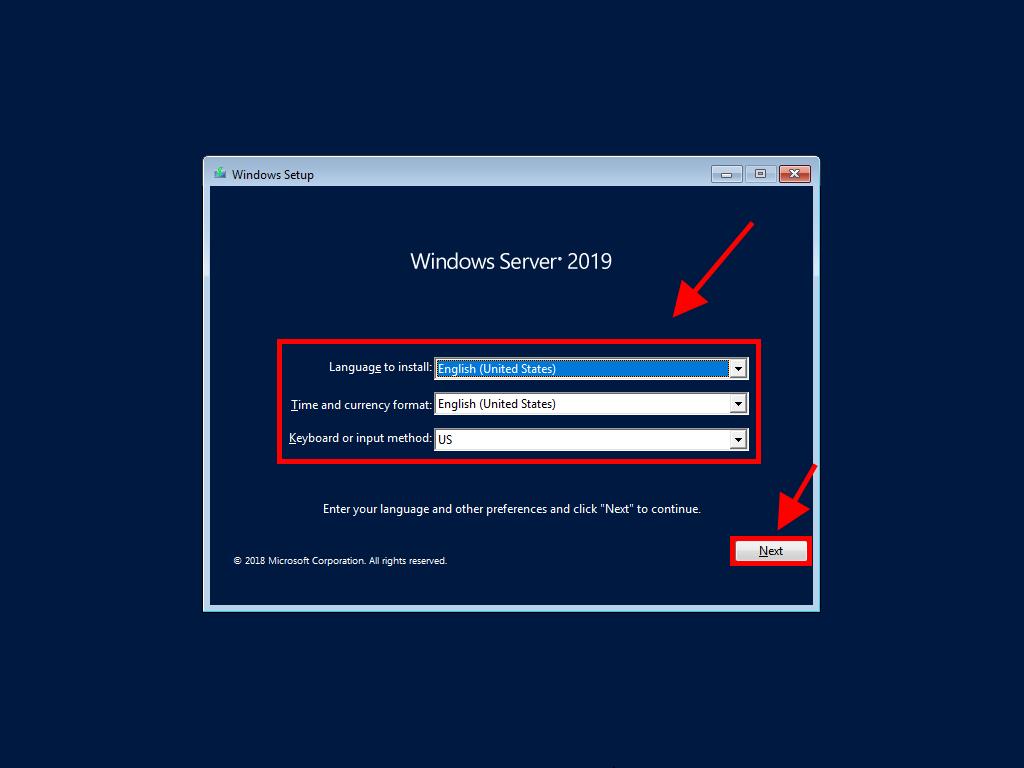
- When the setup program begins, choose your language, time, currency format, and keyboard layout, then click Next.
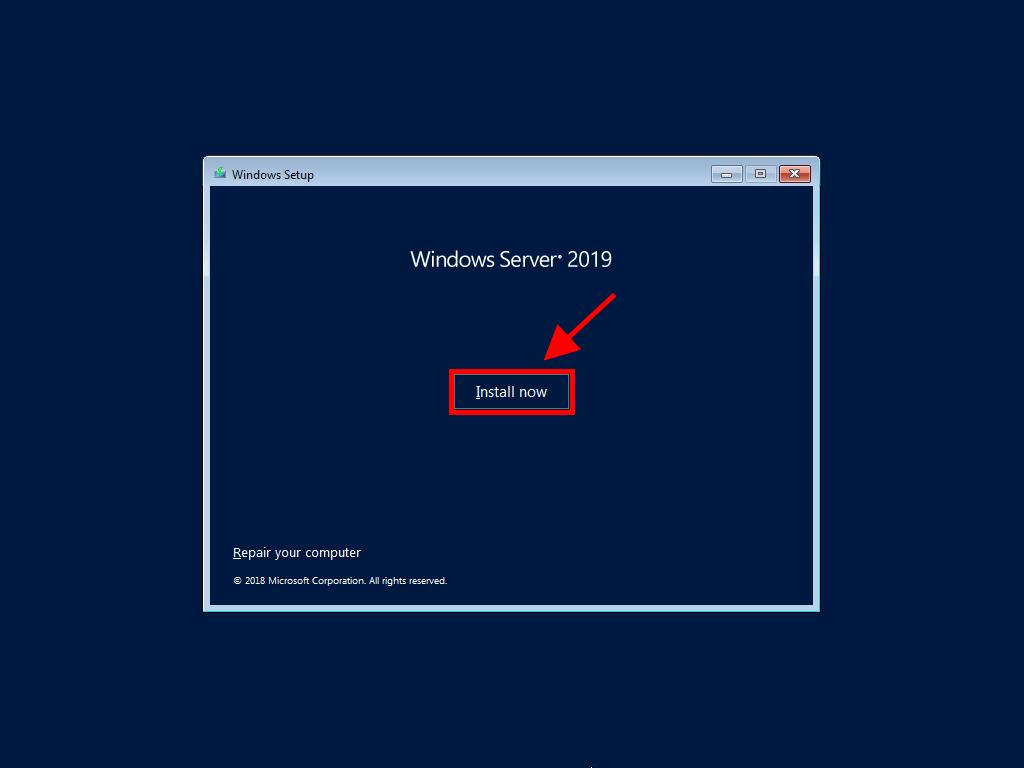
- Click Install now to begin the installation.
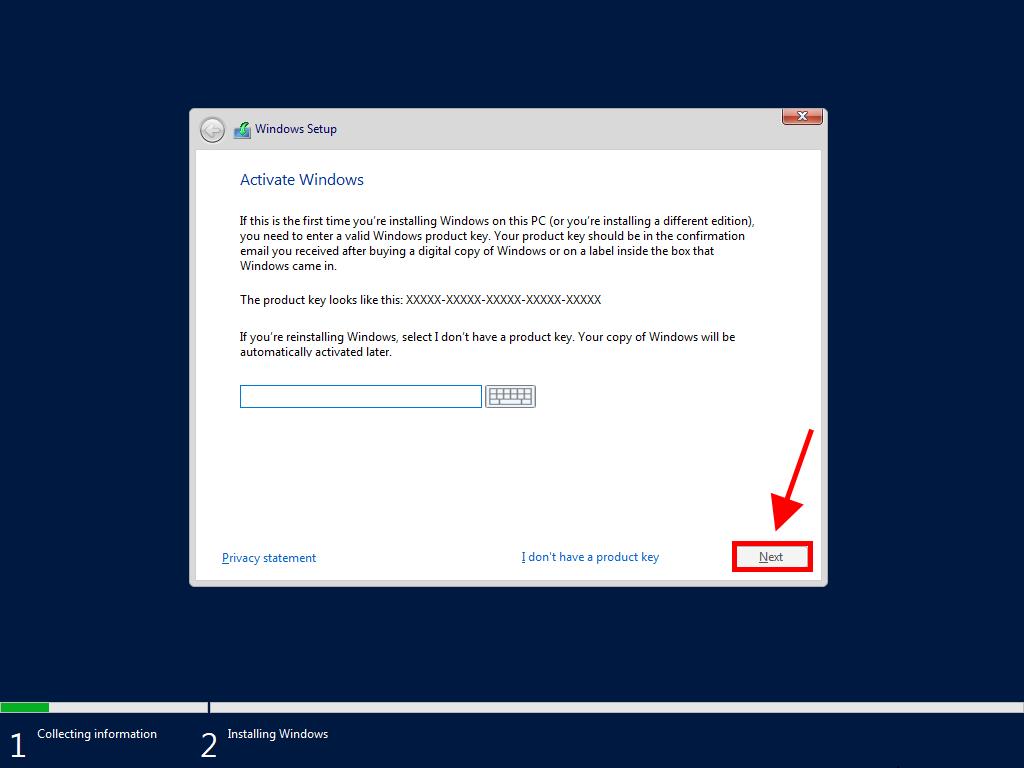
- Enter your product key and click Next.
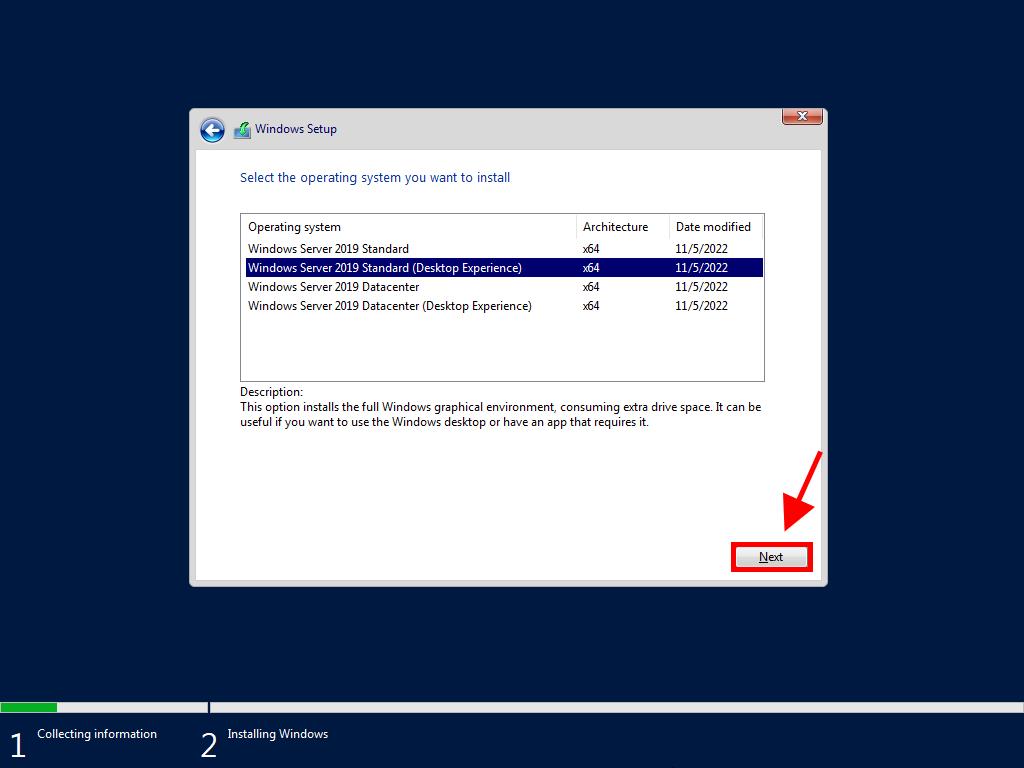
- Select the edition (Desktop Experience) and click Next.
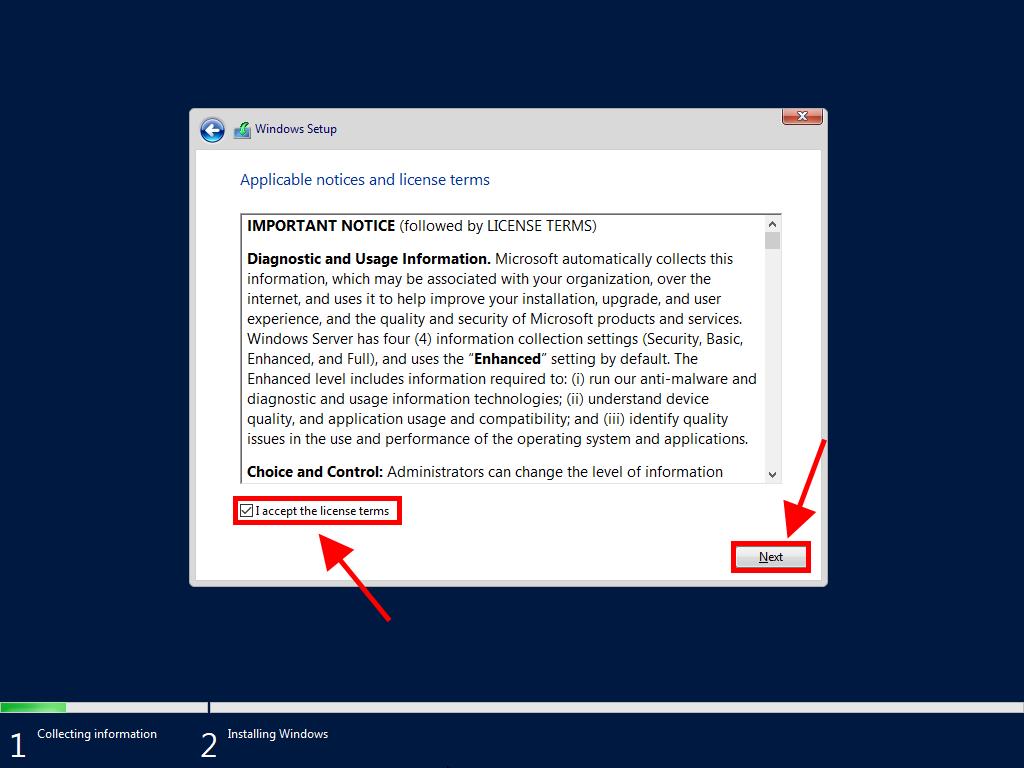
- Accept the license terms and click Next.
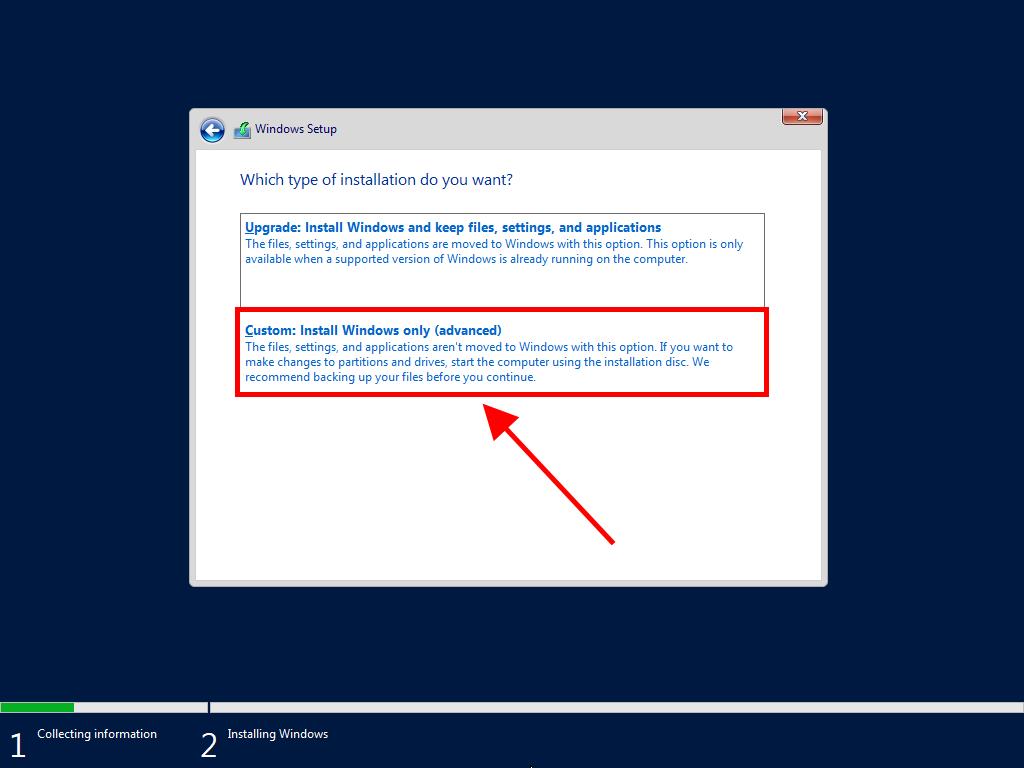
- Choose Custom: Install Windows only (advanced) for a fresh installation.
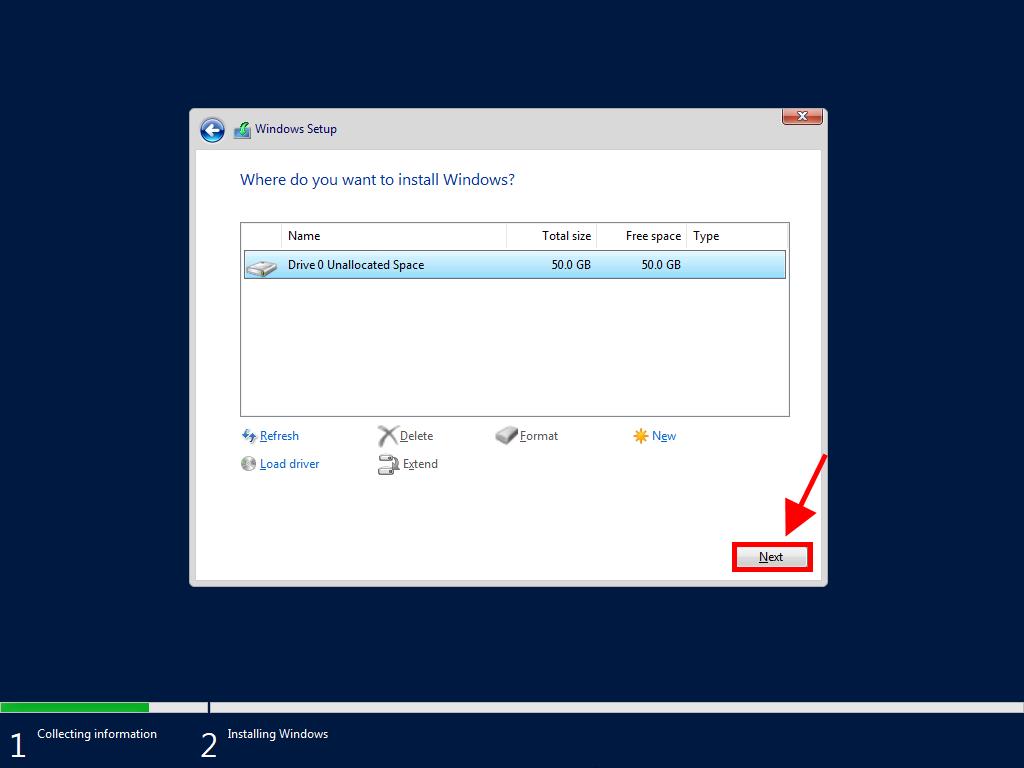
- Select the drive where Windows Server should be installed and click Next.
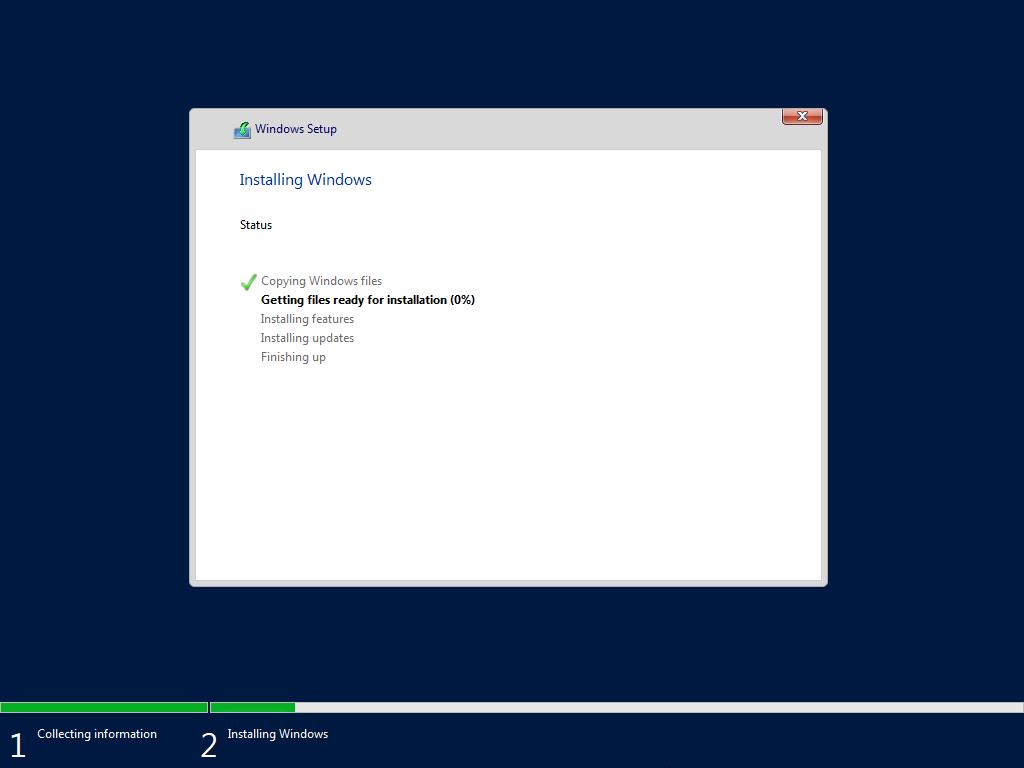
- The installation of Windows Server will commence. This will take a few minutes.
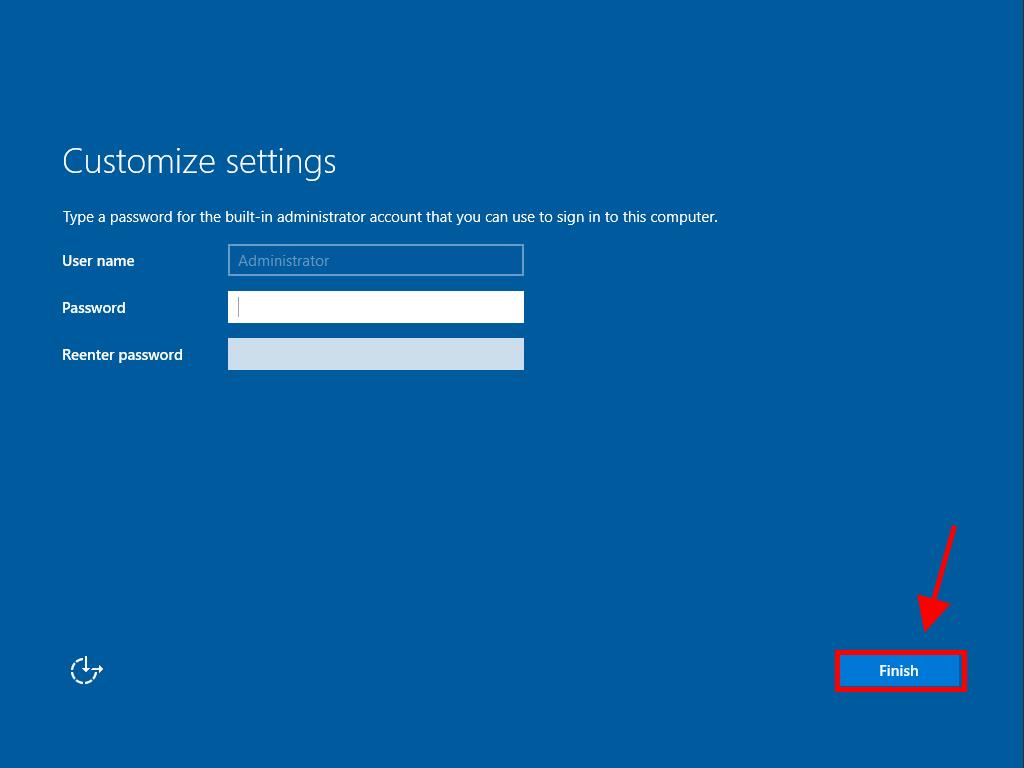
- Create a memorable password and click Finish.
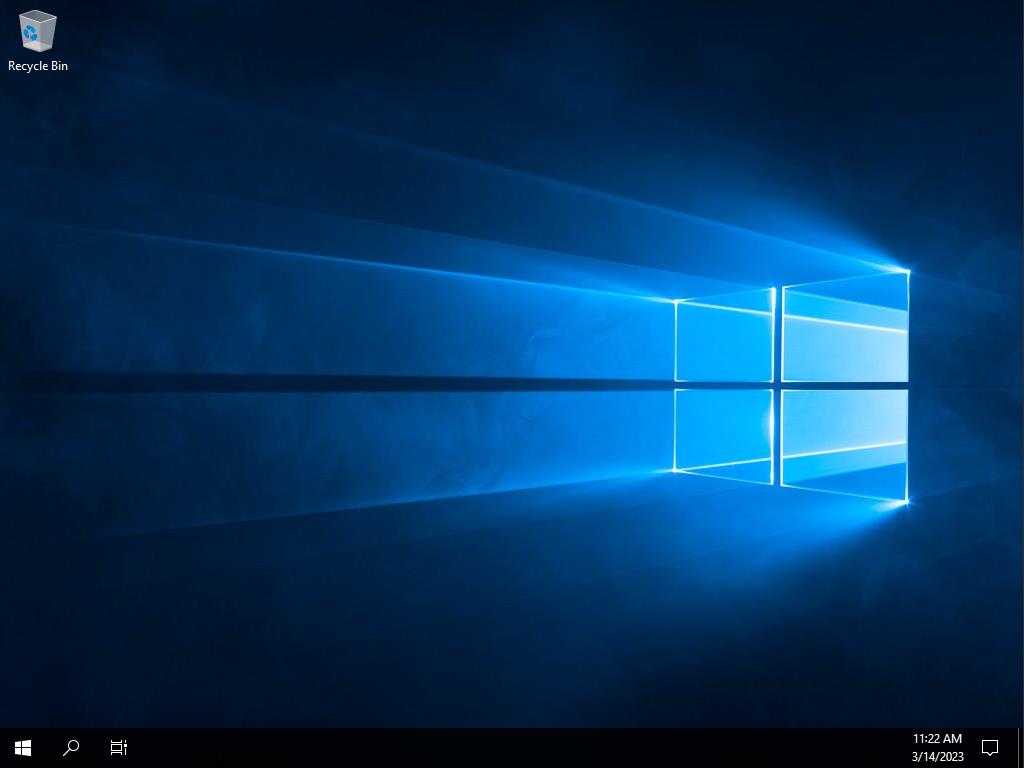
- Finally, press Ctrl+Alt+Del and enter the password you set earlier. Your Windows Server desktop will now load.
Note: If the installation doesn't begin, change the boot order in your BIOS settings to prioritize the USB drive.
Note: For optimal performance, delete all existing partitions on your hard drive. For a new hard drive, just click next.
 Sign In / Sign Up
 Orders
 Product Keys
 Downloads

 Go to notfound