Sign In / Sign Up
 Orders
 Product Keys
 Downloads

 Go to notfound
How to Install Windows Server 2016 from a Bootable USB
Begin with a bootable USB drive to install Windows Server 2016 by following these key steps:
- Start your server to run Windows normally; insert the Windows Server USB and restart the server.
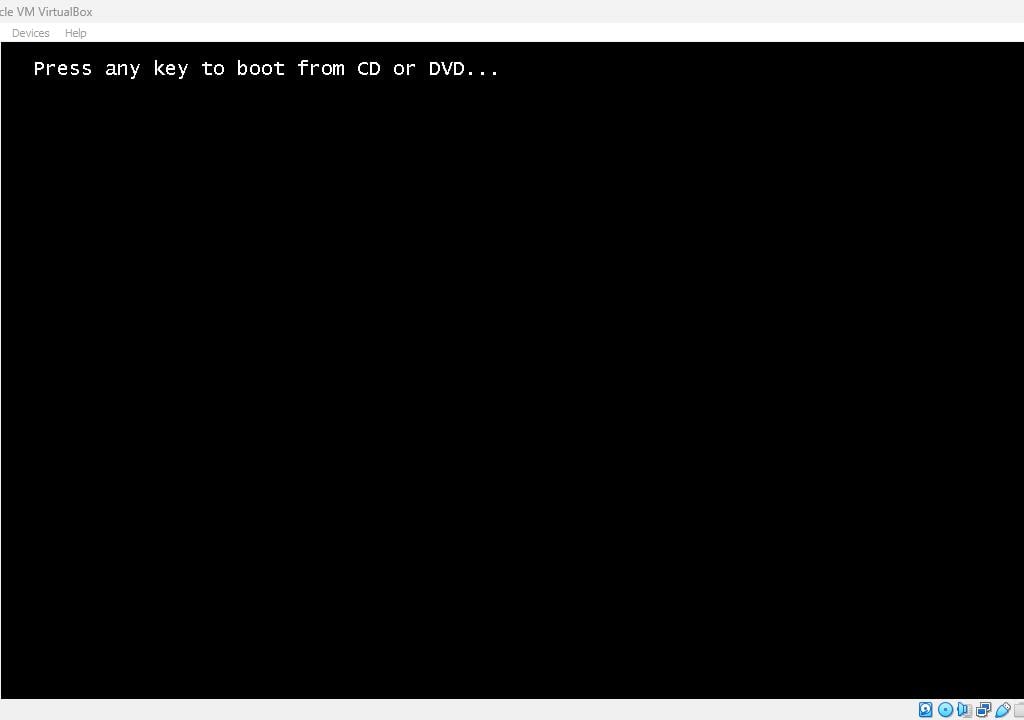
- The server will attempt to boot from the USB device. Promptly press any key when you see the message Press any key to boot from CD or DVD.
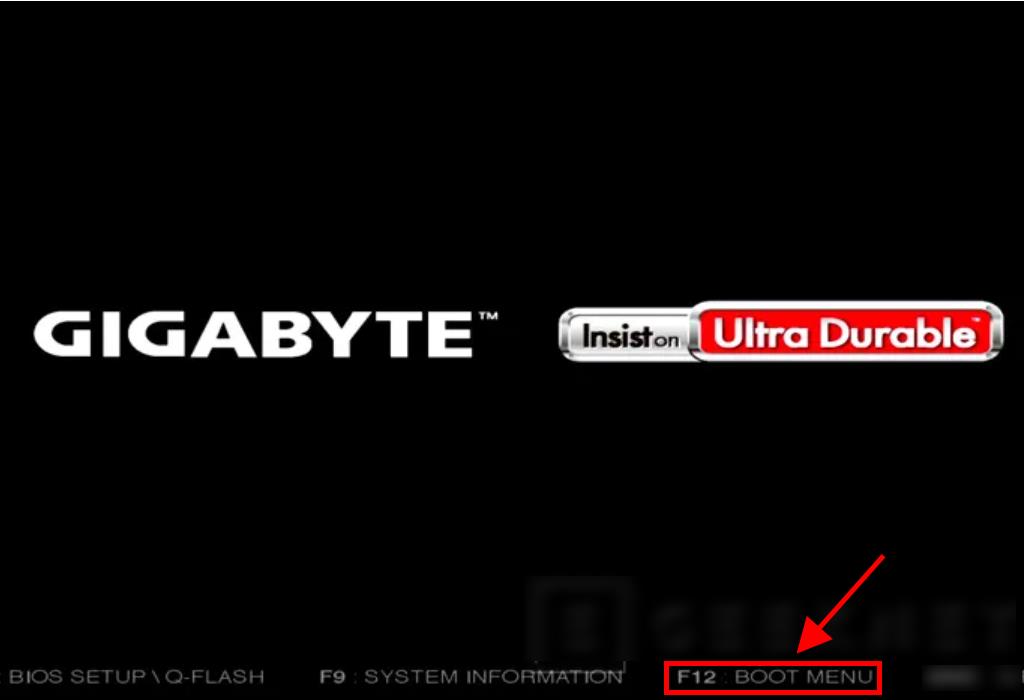
- Restart the server and press the boot menu key (often F2, F10, F11, F12, or Del) when the manufacturer's logo shows to enter the BIOS settings.
- Adjust the BIOS to boot from the USB drive.
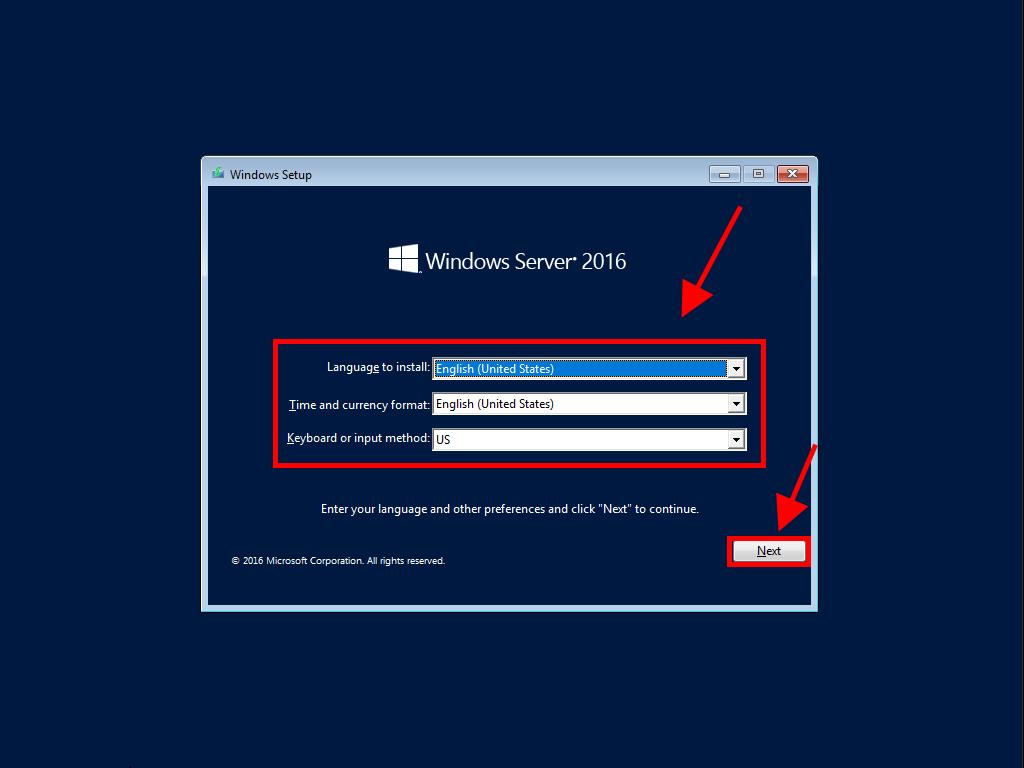
- Enter the Windows setup, choose your language, time and currency format, and keyboard or input method, then select Next.
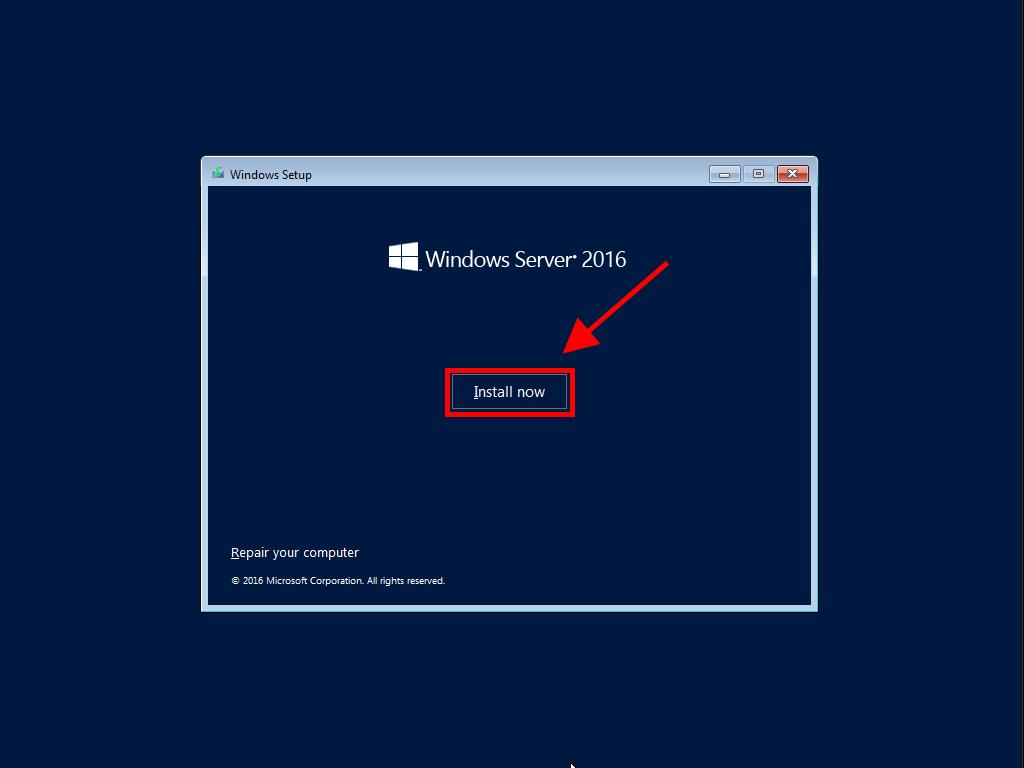
- Click Install now to initiate the installation process.
- Input the product key and proceed by clicking Next.
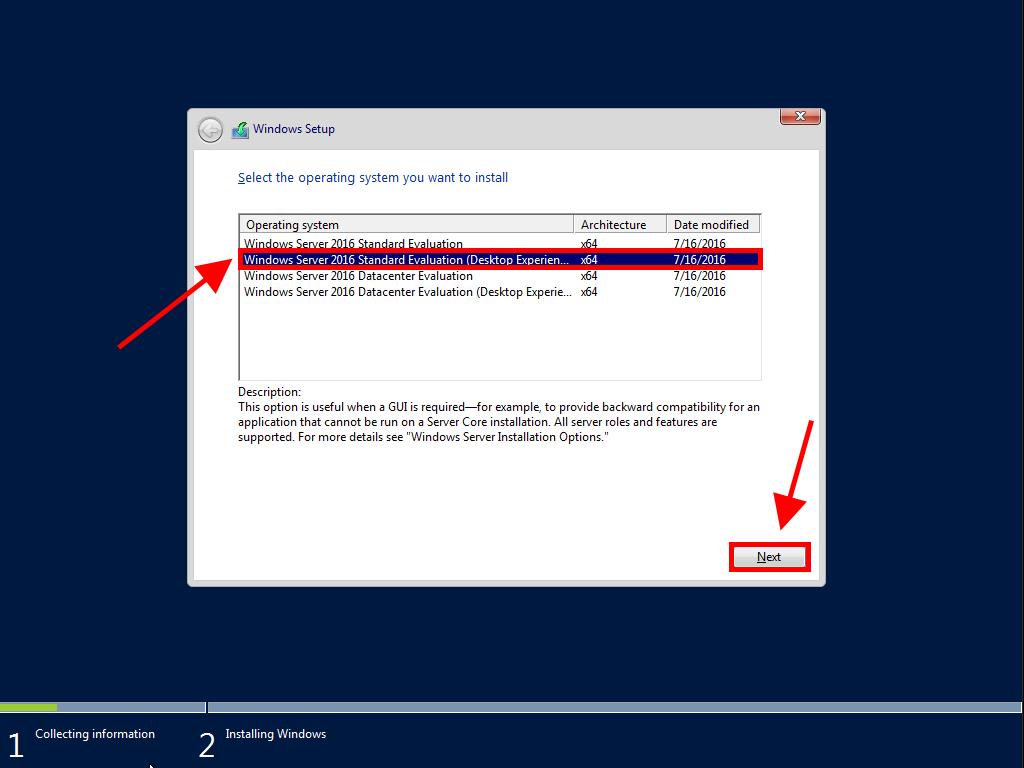
- Select the desired edition (Desktop Experience) and click Next.
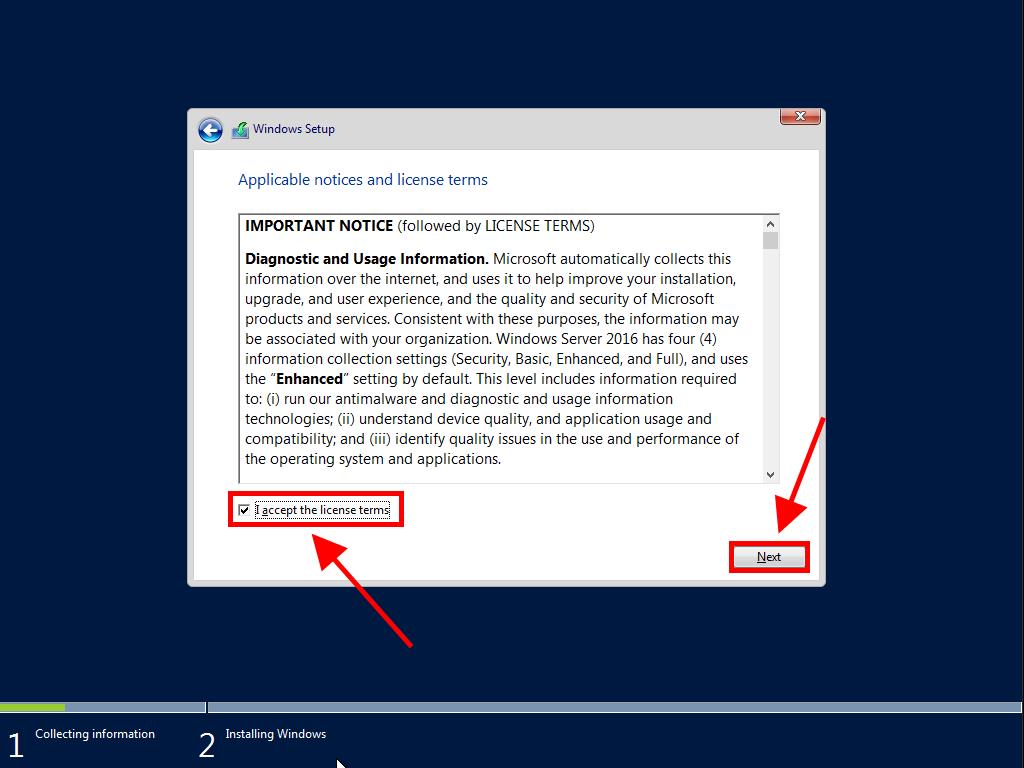
- Agree to the license terms and select Next.
- Choose Custom: Install Windows only (advanced) for installation type.
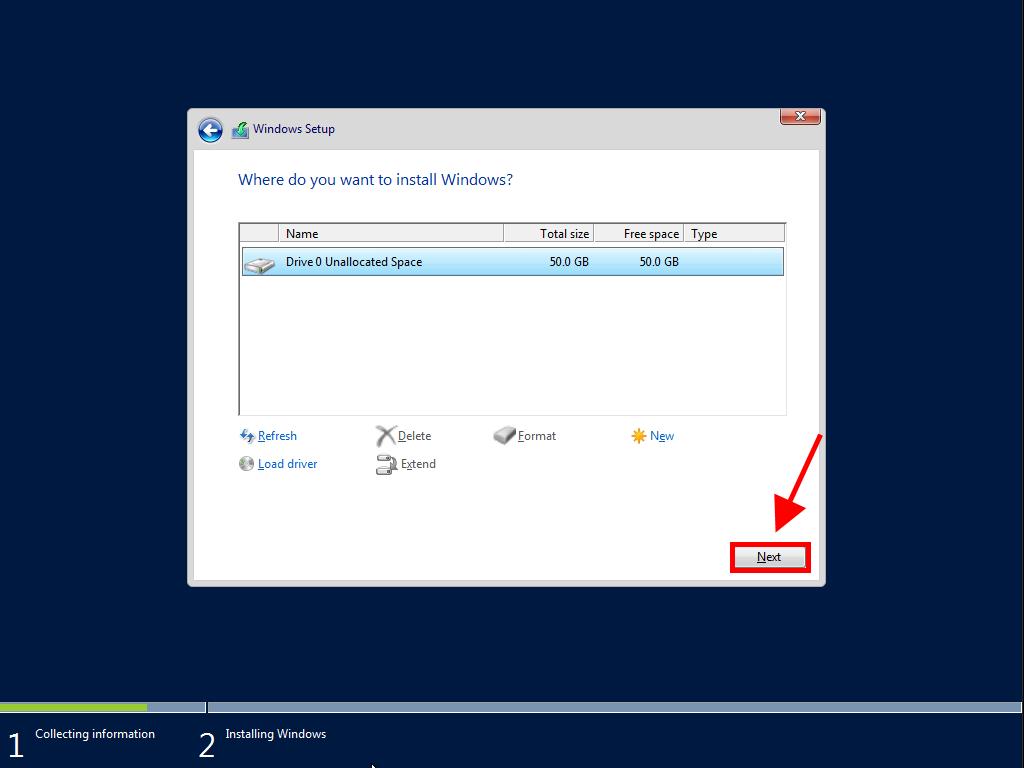
- Select the drive where you will install Windows and click Next.
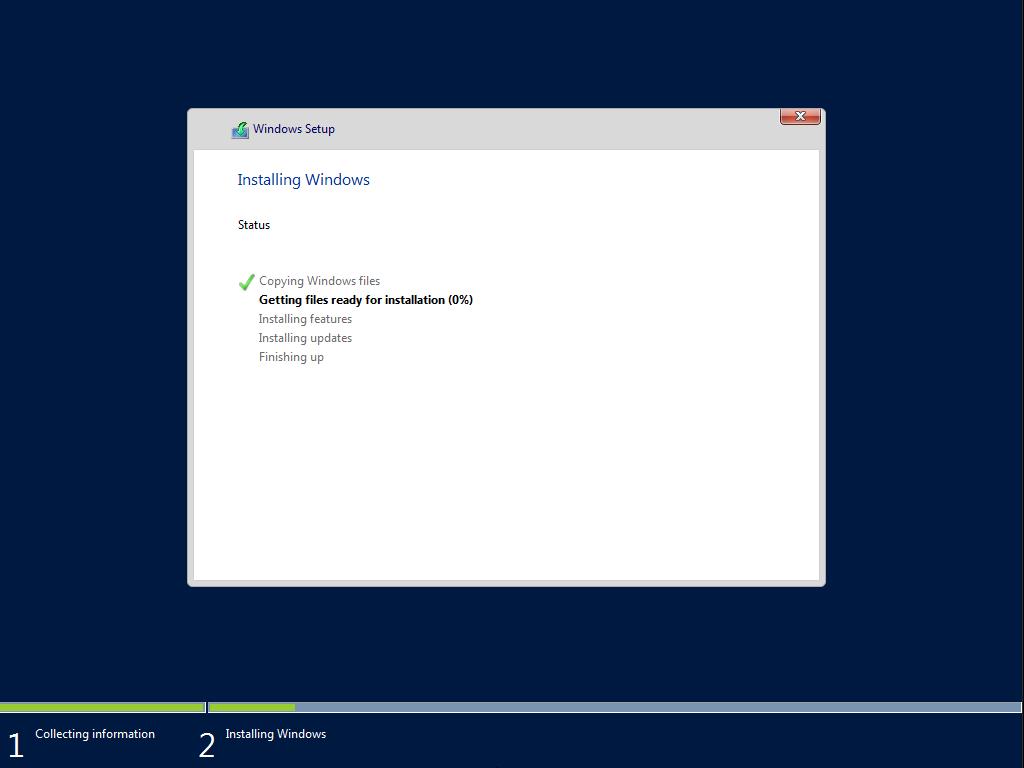
- Installation will begin and may take some time.
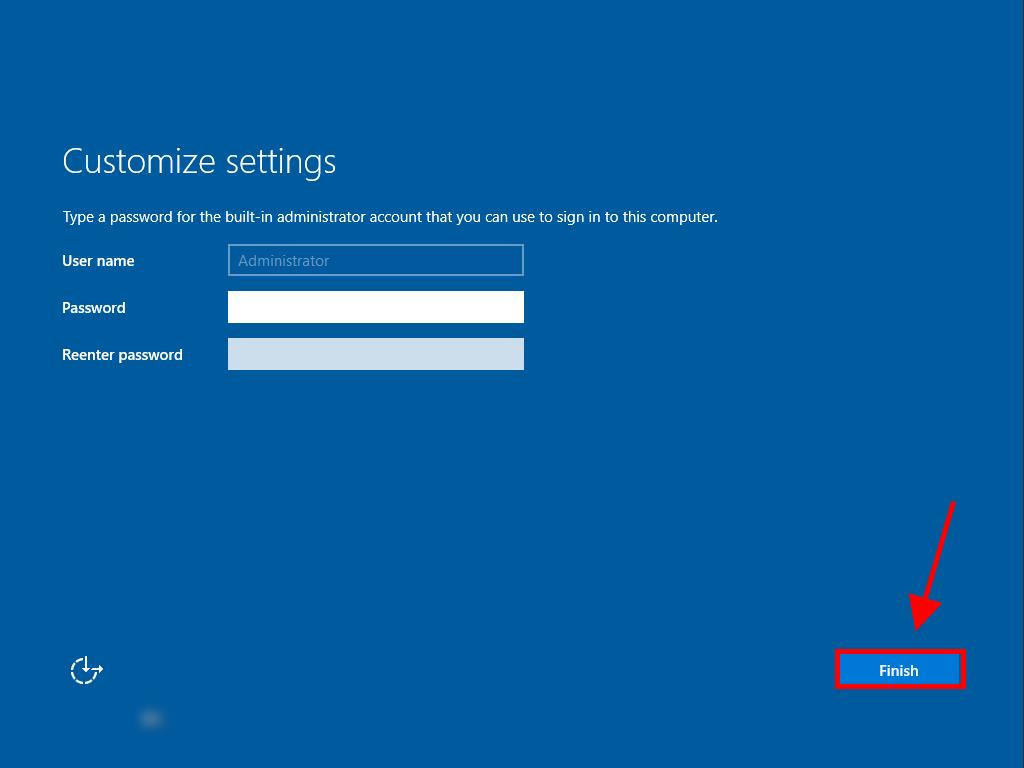
- Set a memorable password and click Finish.
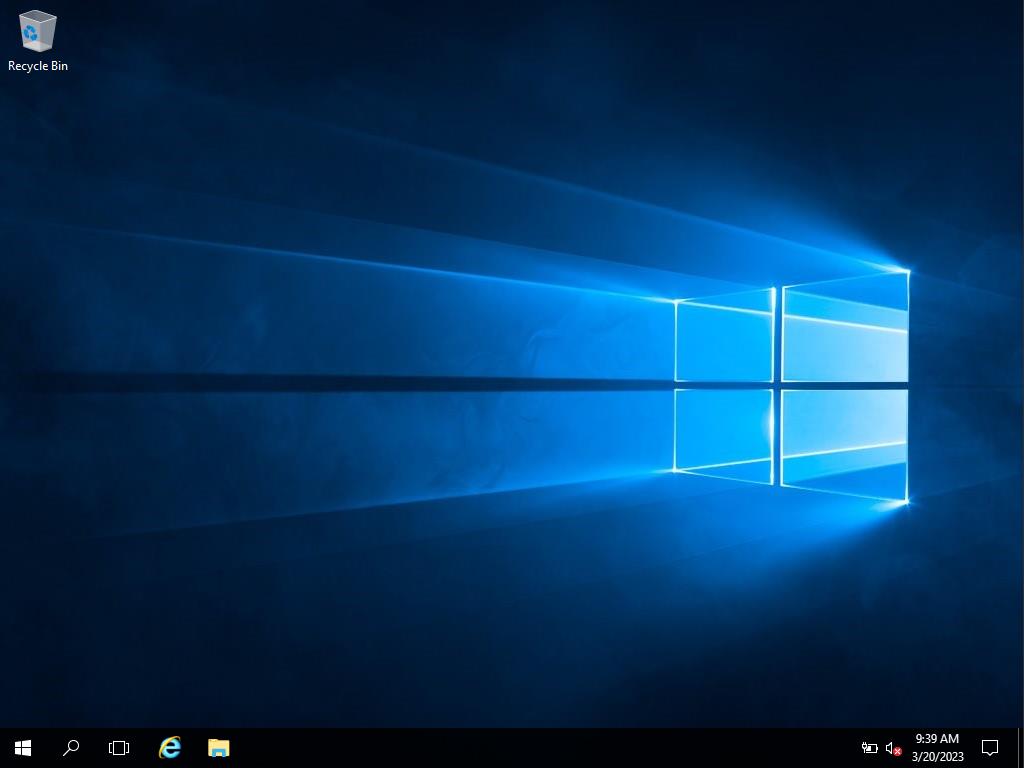
- Press Ctrl+Alt+Del to log in using your set password. You will then be presented with your new Windows Server desktop.
Note: If the server doesn't boot into the Windows Server setup, you may need to modify the boot sequence in the BIOS settings to prioritize the USB drive.


Note: For optimal functionality, we recommend formatting all partitions on the hard drive. If the drive is new, simply proceed by clicking next.