Expert Instructions for Preparing Bootable USB Media for Windows Server 2012 R2 Installation
Once you have obtained the Windows Server 2012 R2 .iso file, you'll need to make a bootable USB drive to carry out the installation.
Note: Ensure your USB device has a minimum of 16 GB of storage space.
To make the bootable drive, use the following tool:
Rufus
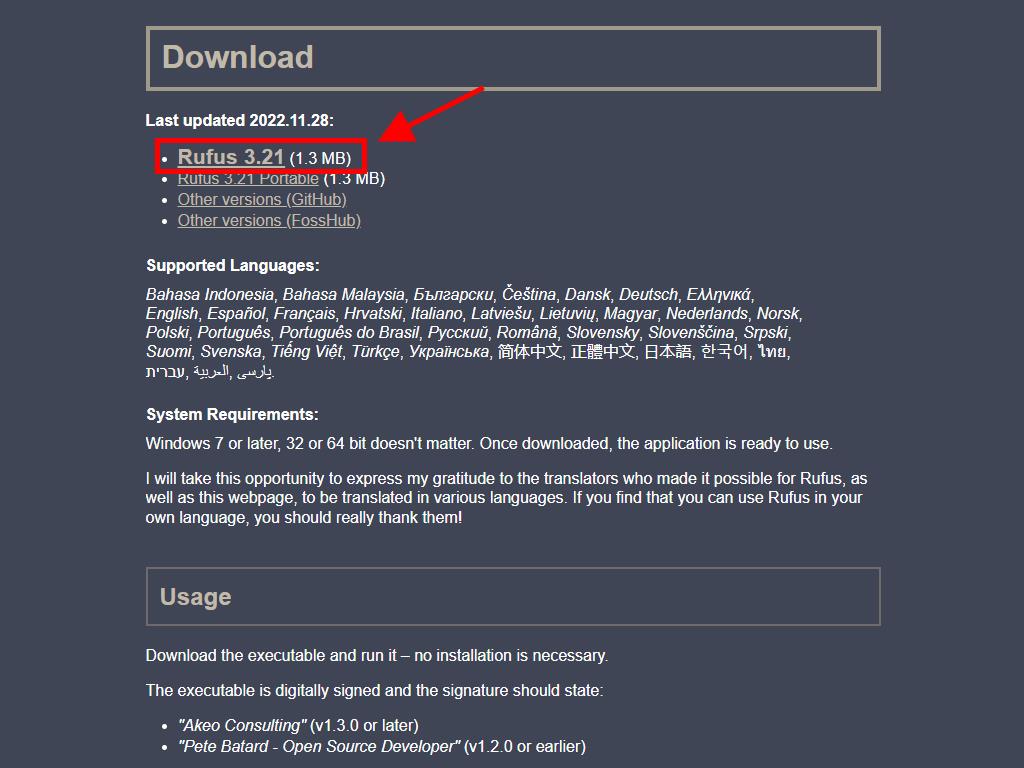
- Download Rufus for free here.
- Scroll down and get the latest version of Rufus from the Download section.
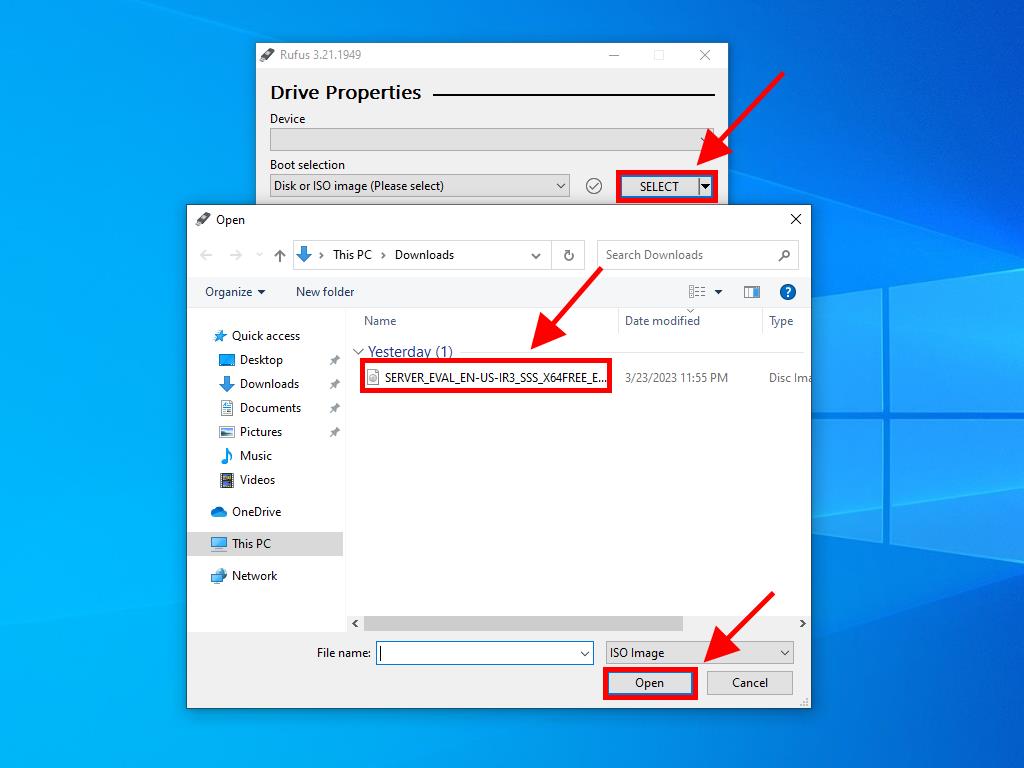
- Insert your USB drive and start the Rufus application.
- Click Select and locate the Windows Server 2012 R2 .iso file you want to use.
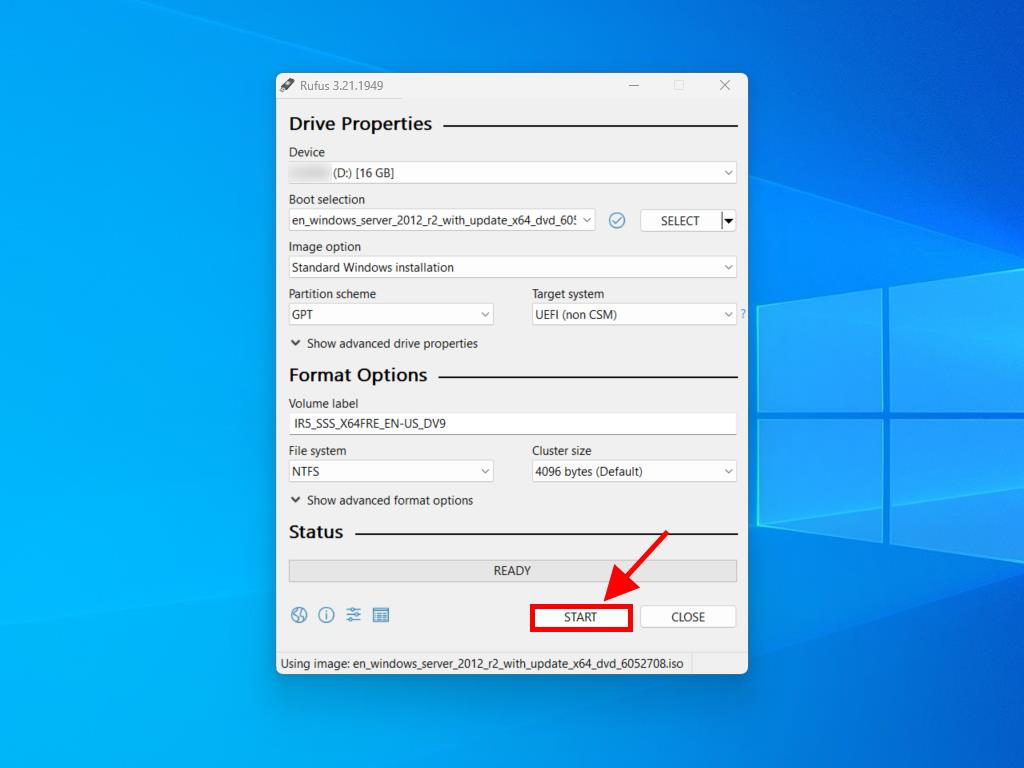
- Click Start and wait for Rufus to generate the bootable USB drive.
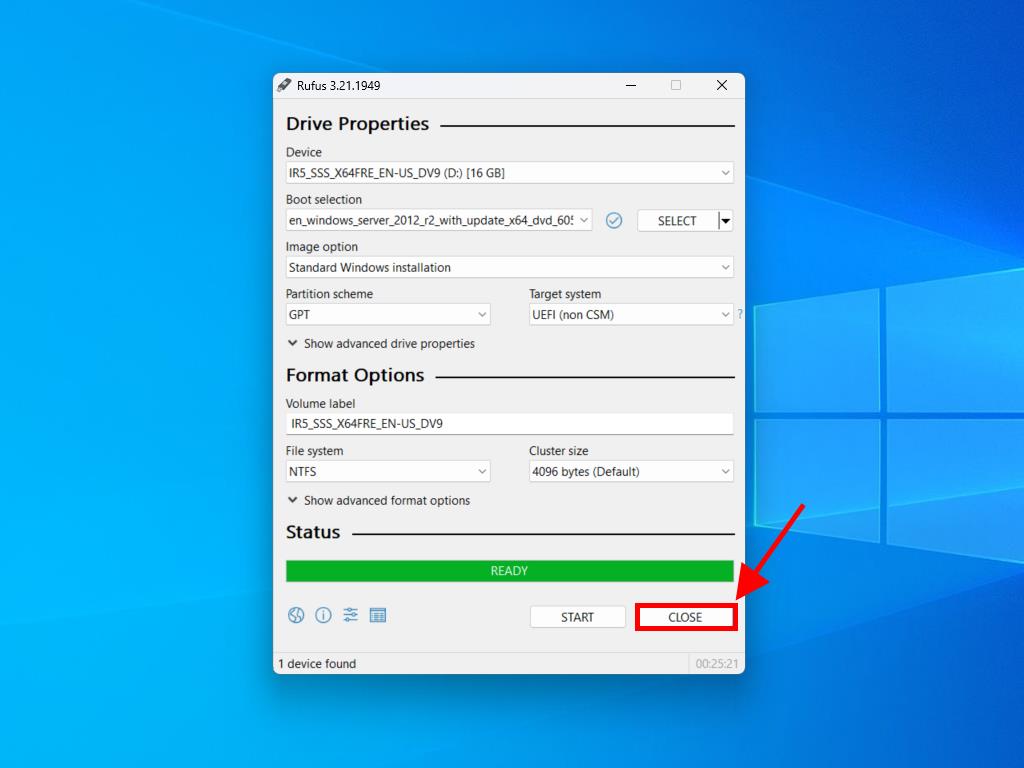
- When the process is done (progress bar showing Ready), click Close, and your USB drive will be prepared to install Windows Server 2012 R2.


Note: A window titled Customise Windows Installation will appear. Select Disable Data Collection and wait for Rufus to finish creating the bootable USB drive.


 Sign In / Sign Up
 Orders
 Product Keys
 Downloads

 Go to notfound