 Sign In / Sign Up
 Orders
 Product Keys
 Downloads

 Go to notfound
Advanced Instructions for Deploying Windows Server 2012 R2 on a Virtual Machine
To install VirtualBox on your PC, follow these steps:
- Open this link and select the Windows Hosts option from the list.
- The VirtualBox file will begin downloading on your PC.
- Open the VirtualBox file and install it.

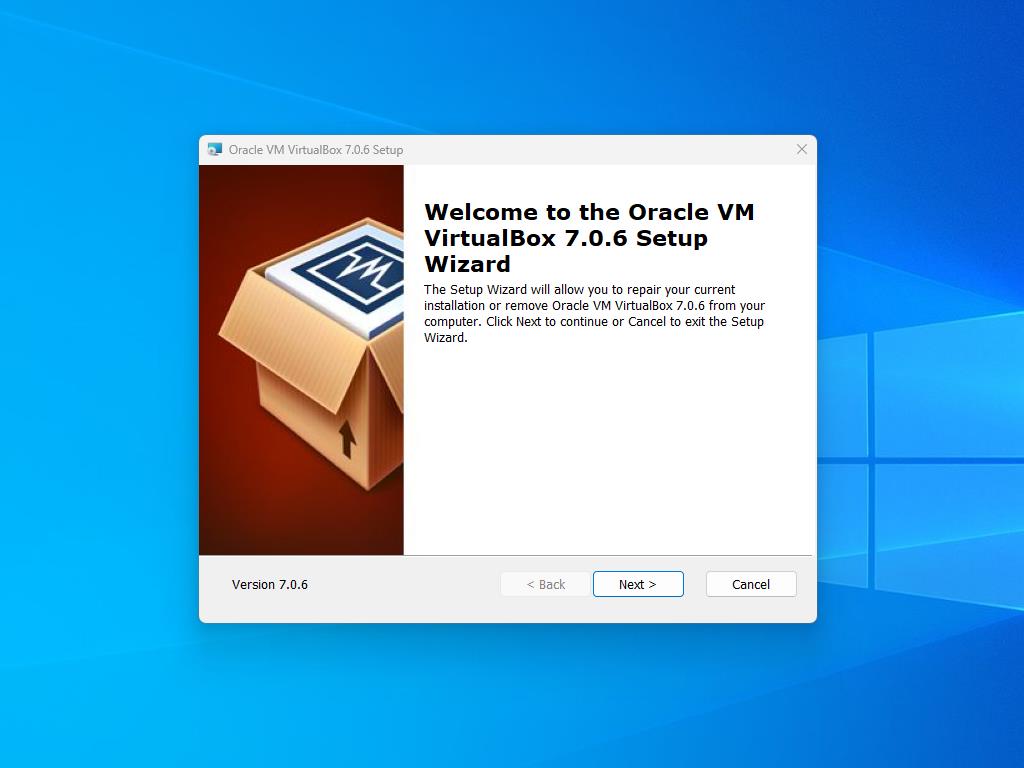
Note: If you have issues installing VirtualBox, deselect the USB features in the installation wizard.
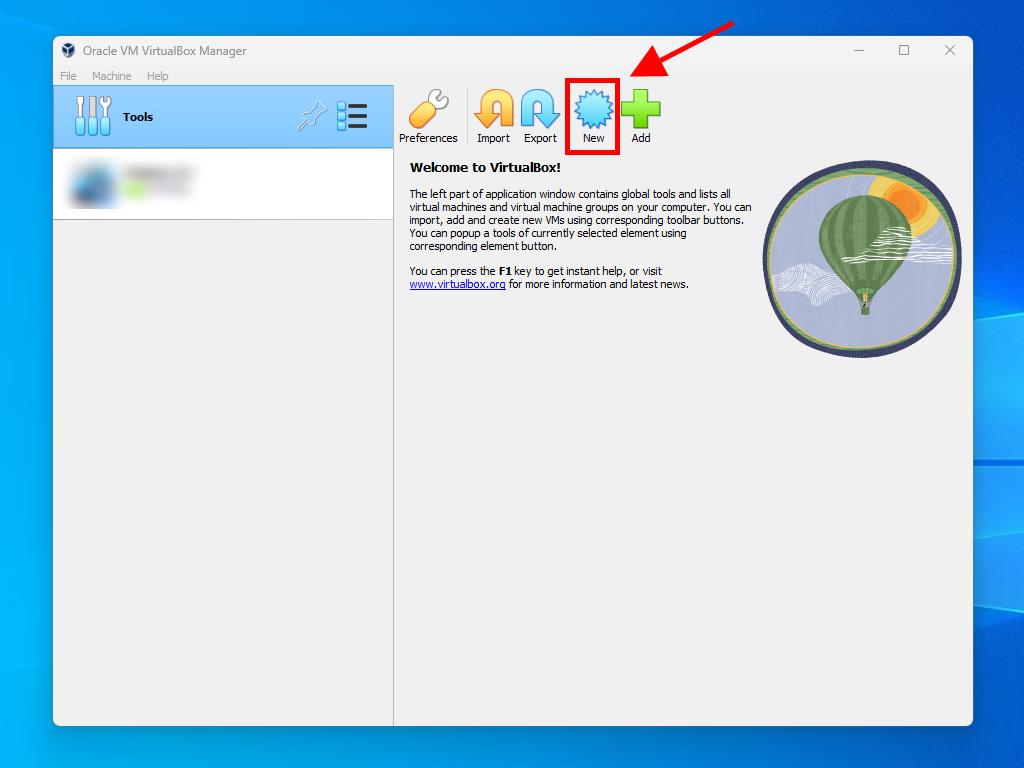
Here's how you can create a new virtual machine (VirtualBox):
- In the Machine section, click the New button.
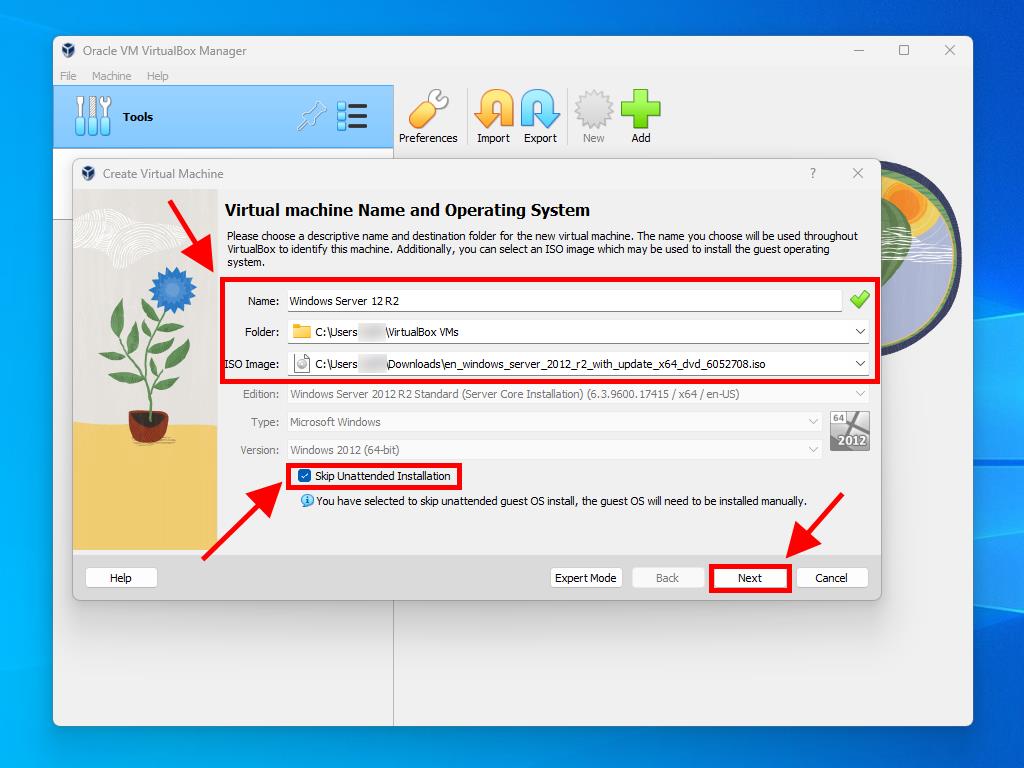
- Enter a name for the virtual machine, select the location of the Windows Server 2012 R2 .iso file, and then click Next.
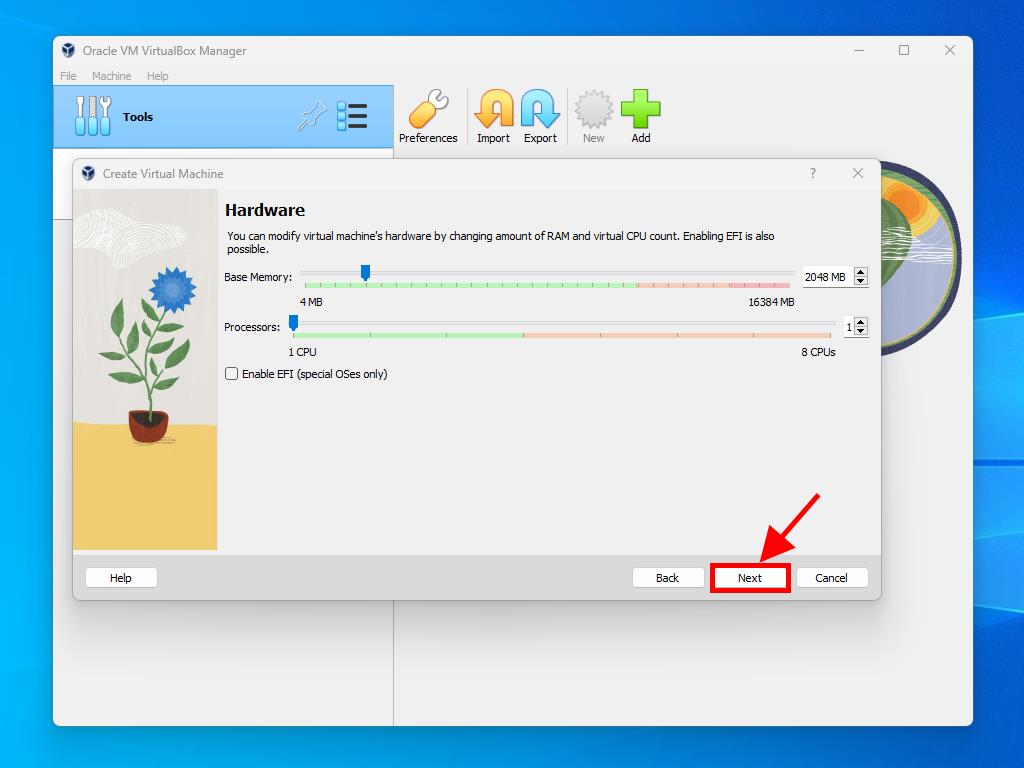
- Use at least 4 GB of RAM and click on Next.
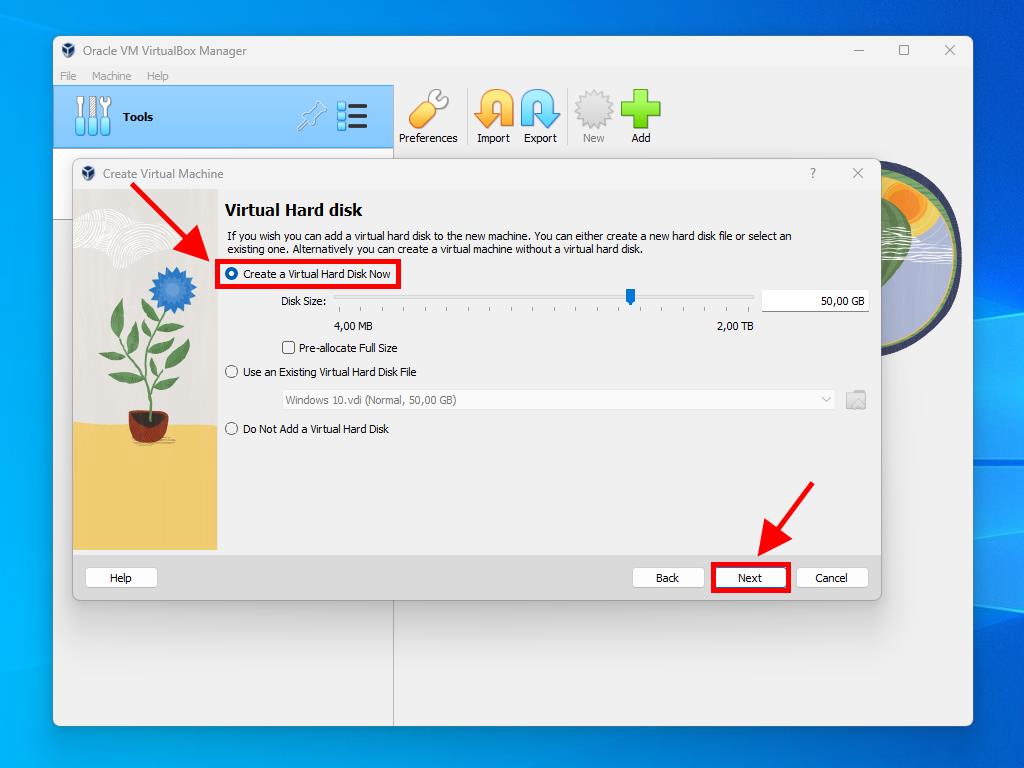
- Click the Create a Virtual Hard Disk Now option (you should use a minimum of 50 GB for proper operation). Then click Next.
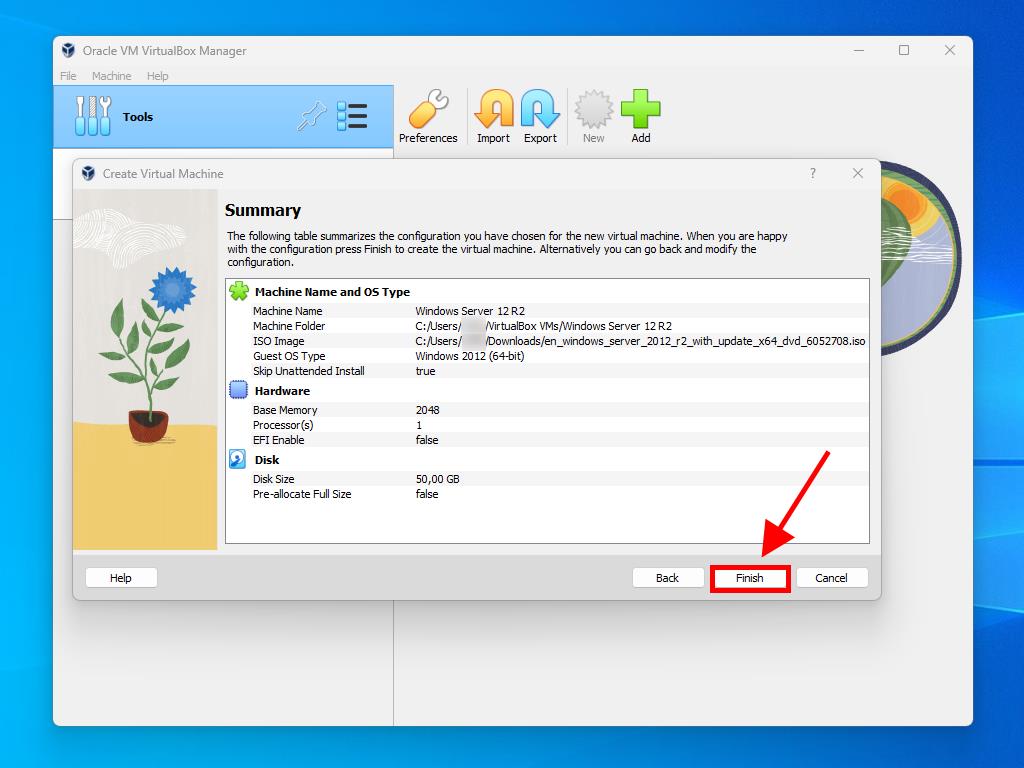
- In the following Summary window, click on Finish.
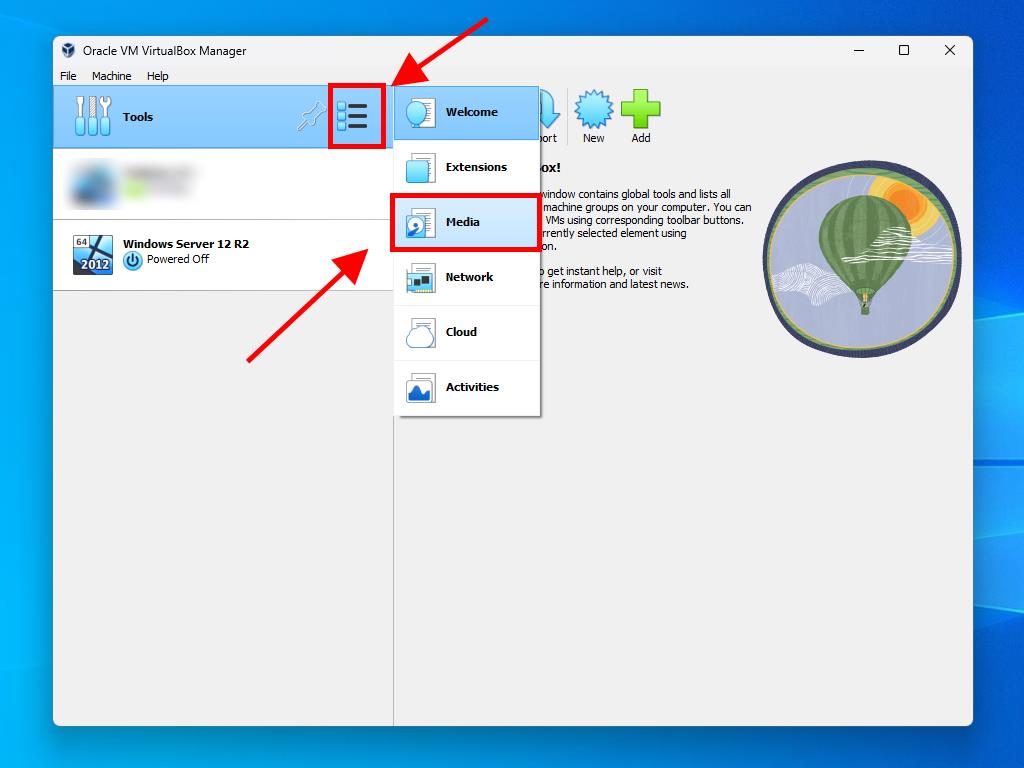
- In the Tools tab, select the Windows Server 2012 R2 .iso file by clicking the button with the three dots. A dropdown menu will open, and click on Media.
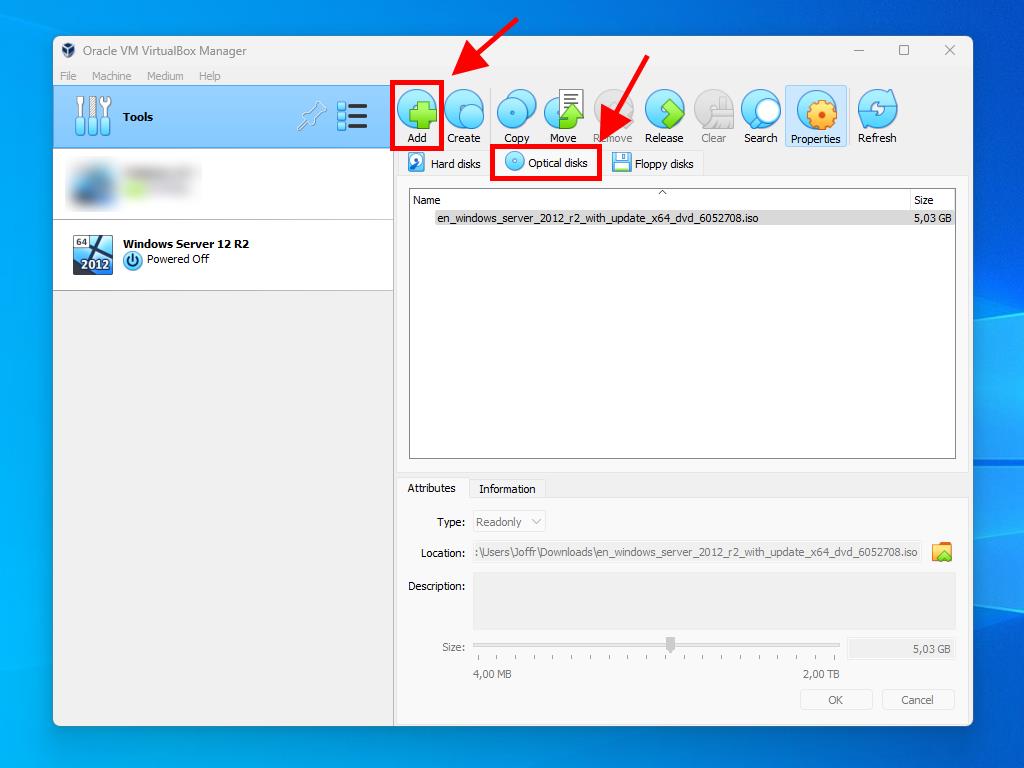
- Next, select the optical disks tab and click on Add.
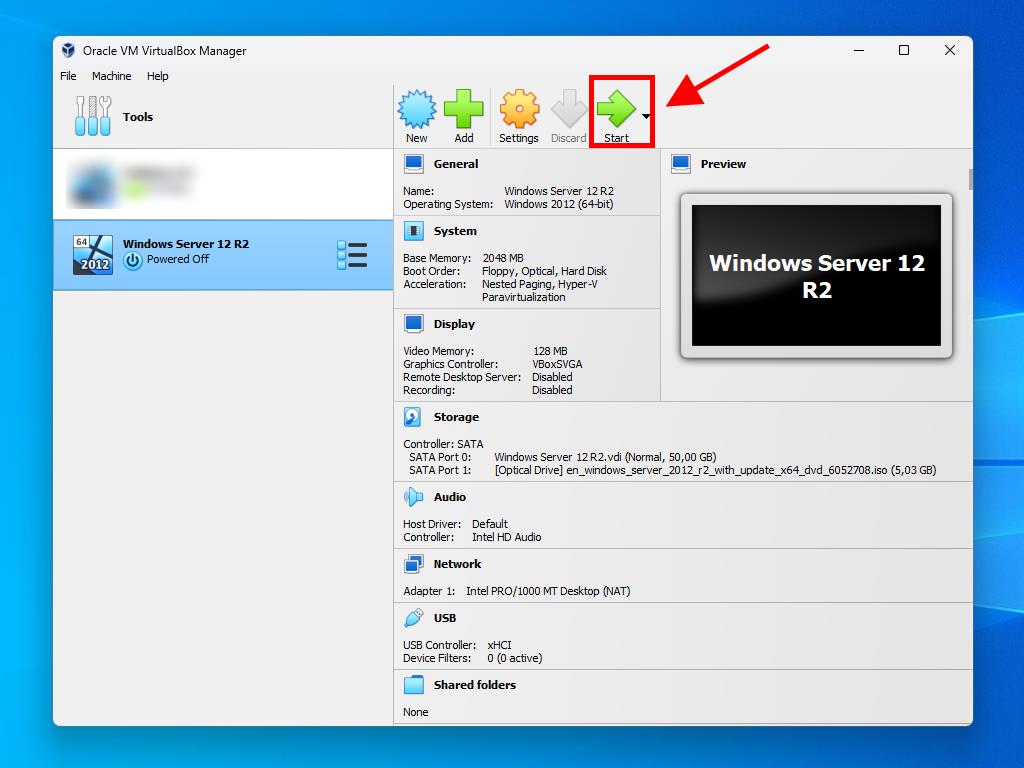
- Power on the virtual machine by clicking on Start.
- The installation of Windows Server 2012 R2 will begin.
Note: Check the box called Skip Unattended Installations.
Note: You can choose any other value according to your preferences, as long as it matches the system requirements.
Note: For more information on how to set up Windows, refer to the section: How do I install Windows Server 2012 R2?.