Sign In / Sign Up
 Orders
 Product Keys
 Downloads

 Go to notfound
How to Properly Set Up Windows Server 2008 R2?
Begin with a bootable USB drive, and proceed with these clear installation instructions:
- Power up your server to access Windows normally; insert the bootable USB for Windows Server, and then reboot your server.
- The device should now boot from the USB. Hit any key when you see the prompt Press any key to boot from CD or DVD.
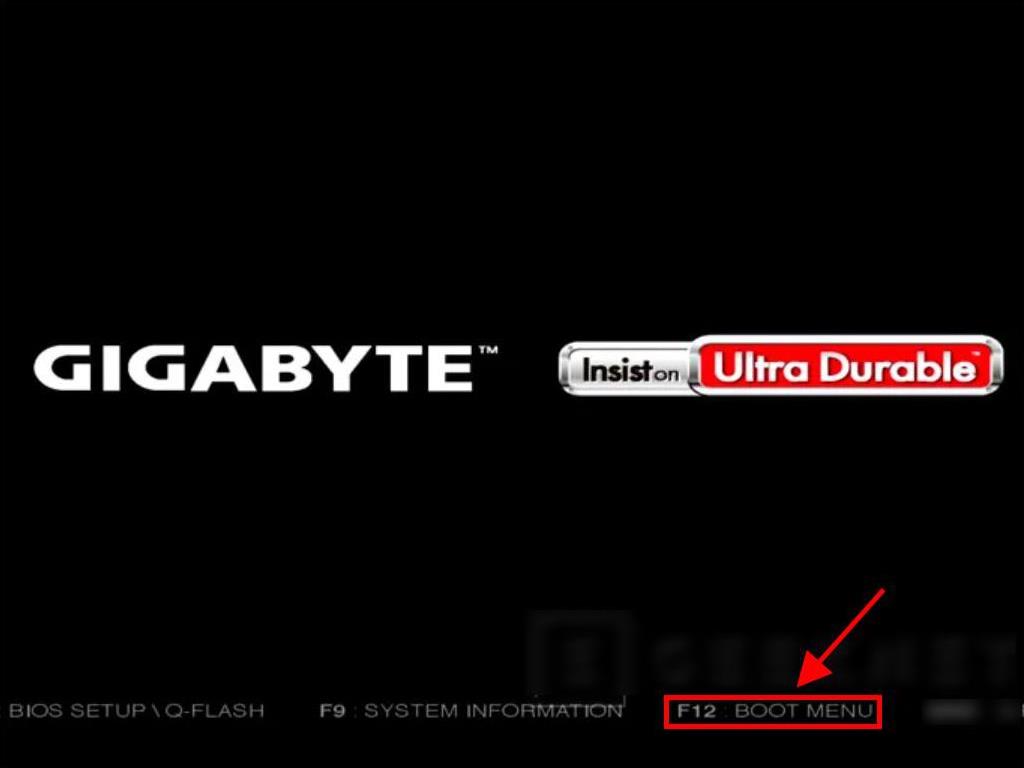
- Upon restart, when the manufacturer's emblem shows, press the BOOT menu key, often F2, F10, F11, F12, or Del, to access the menu.
- Alter the boot order to USB as the first option.
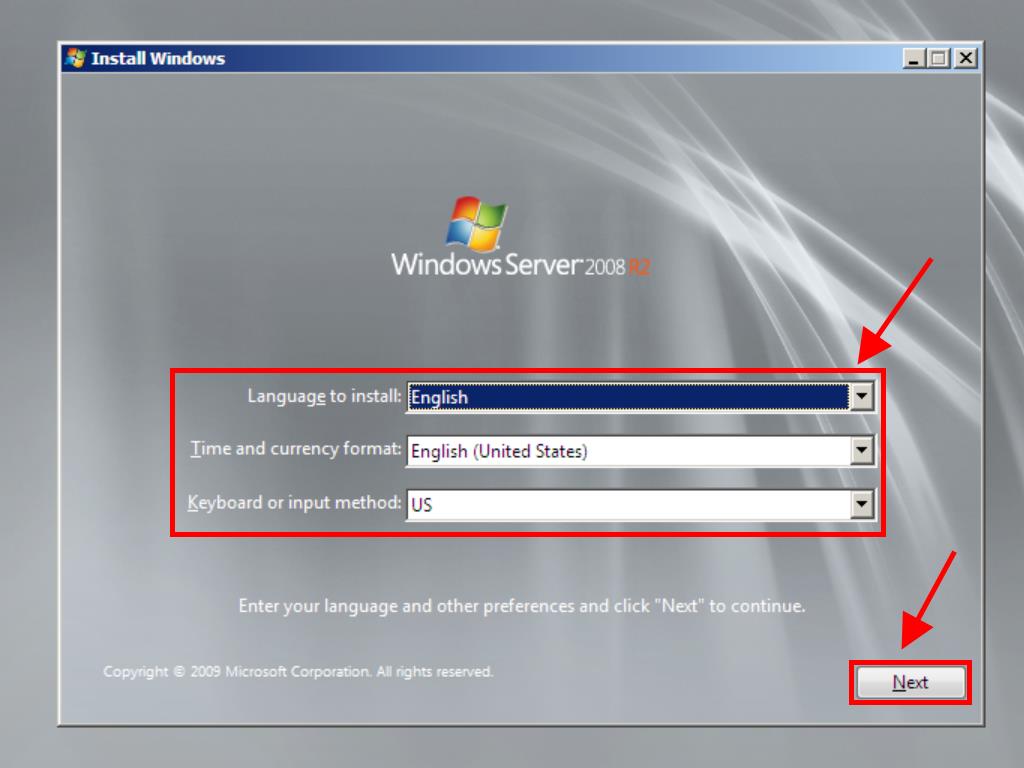
- Within the setup utility, select your desired language, time and currency format, and input method, then click Next.
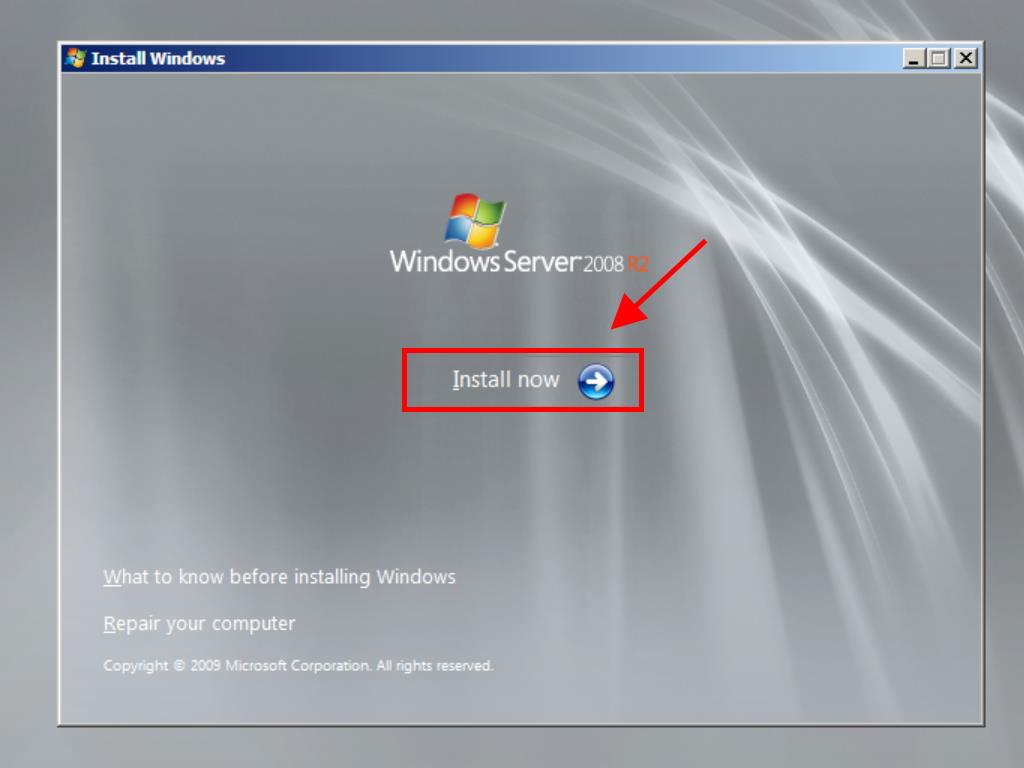
- Click Install now to initiate the setup.
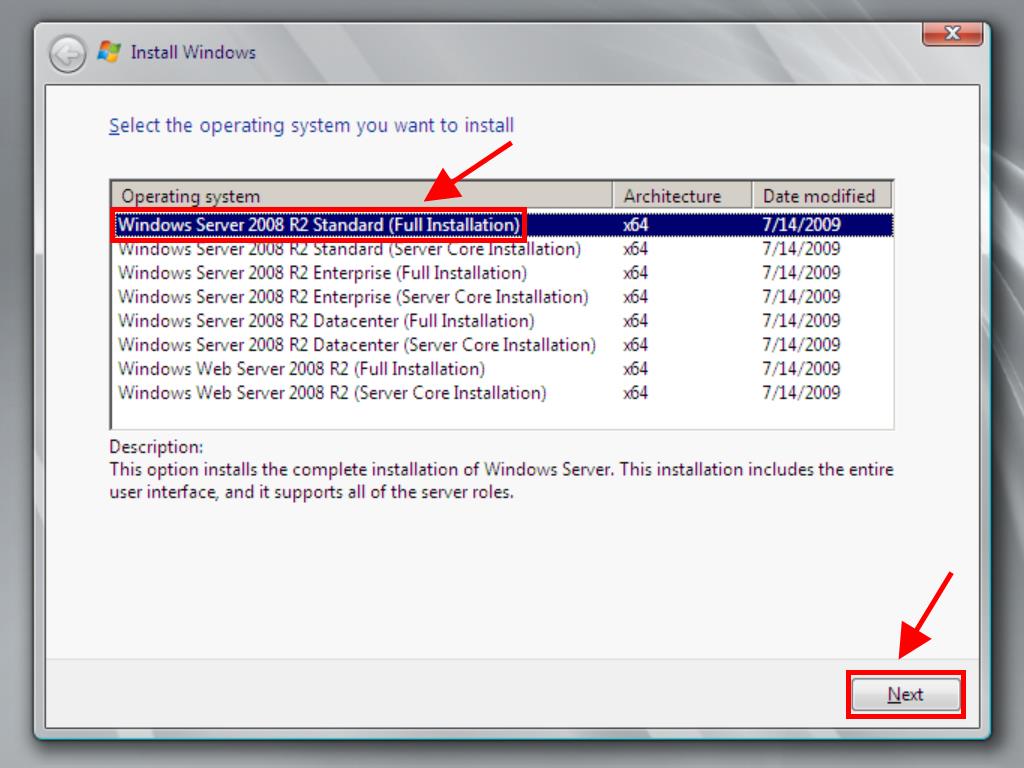
- Select the version of Windows Server you desire (full installation recommended) and click Next.
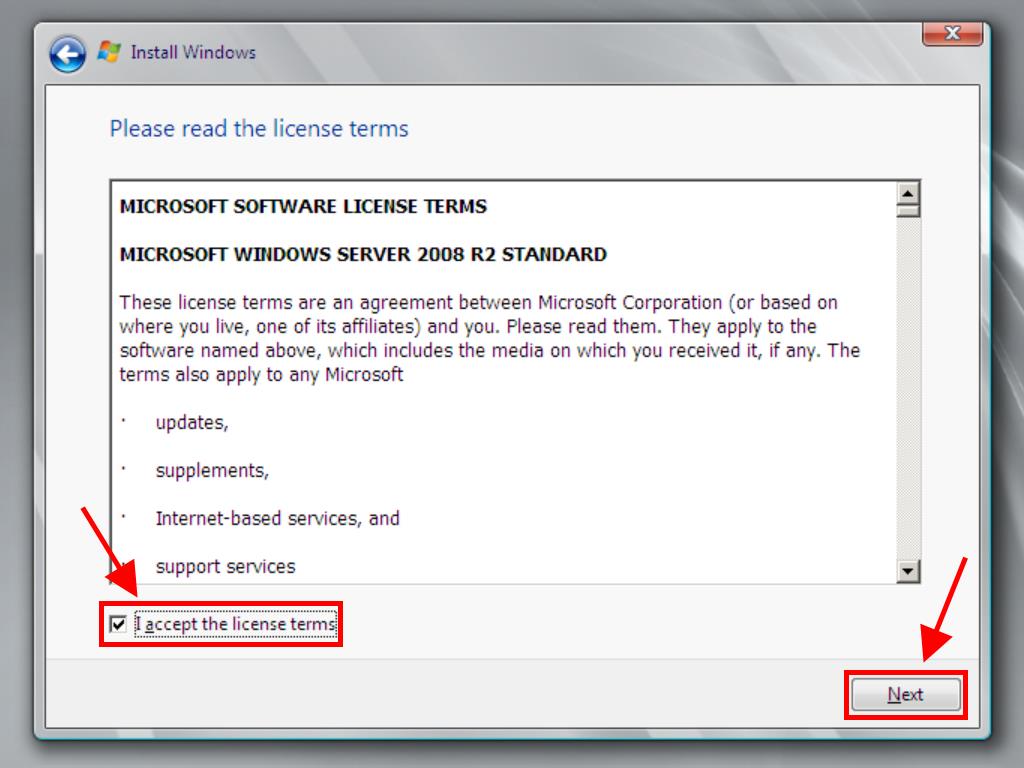
- Agree to the licensing terms and proceed by clicking Next.
- Select Custom (advanced) for installation options.
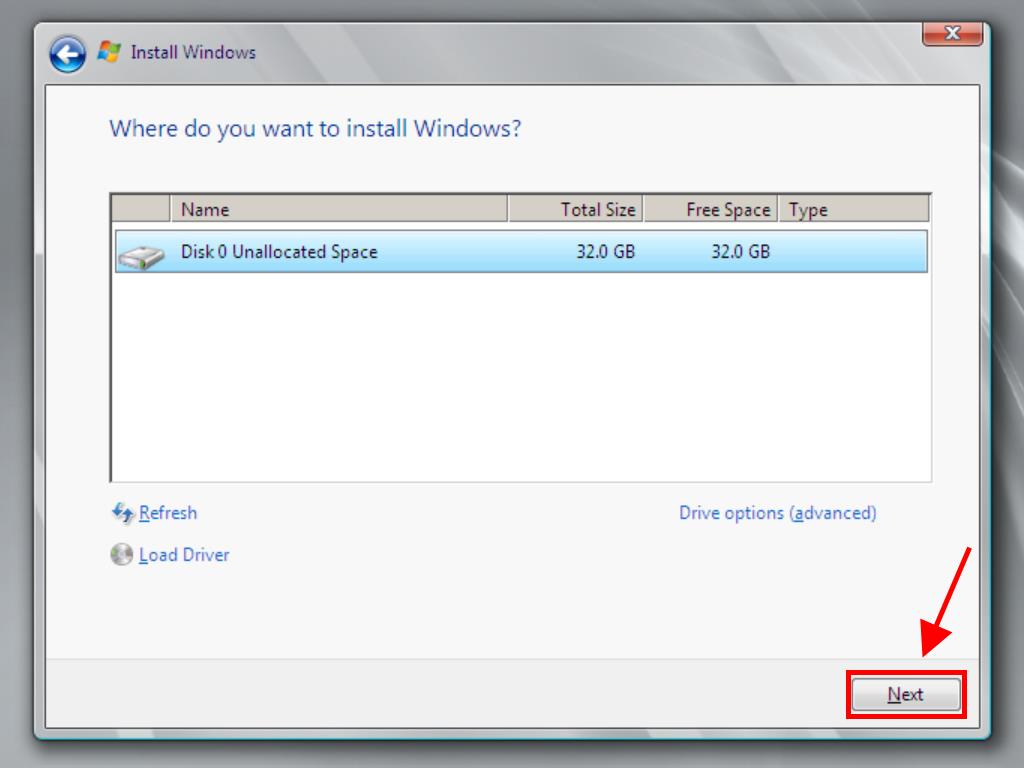
- Choose the hard drive for installation and click Next.
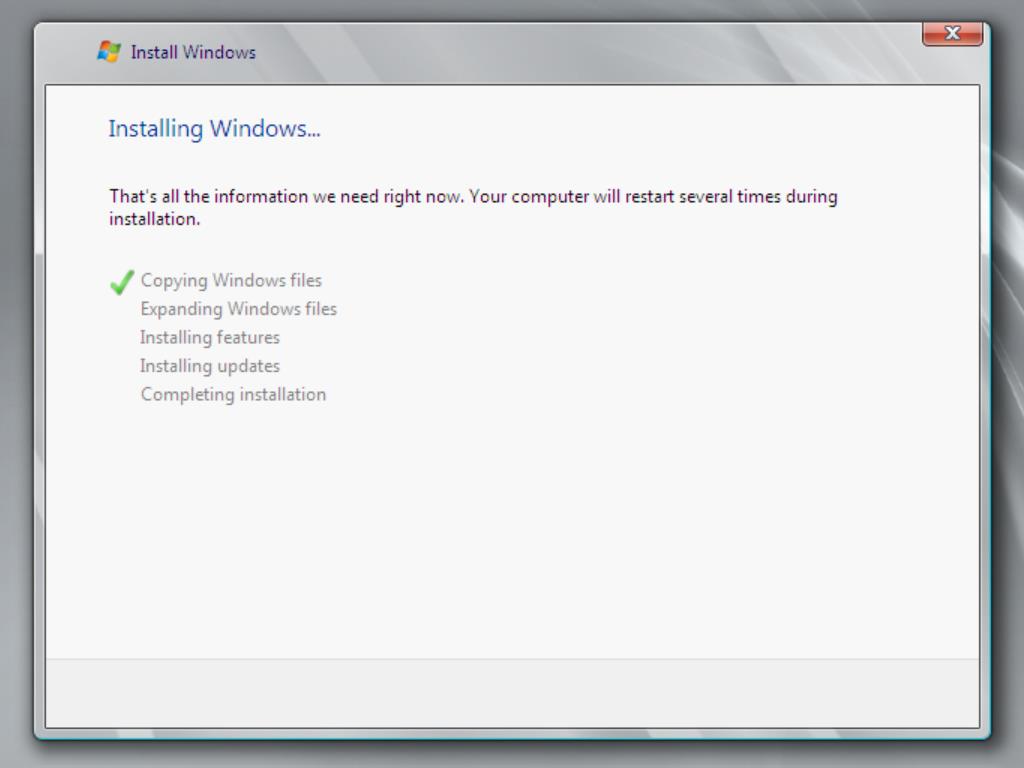
- The installation of Windows Server will commence, taking just a few moments.
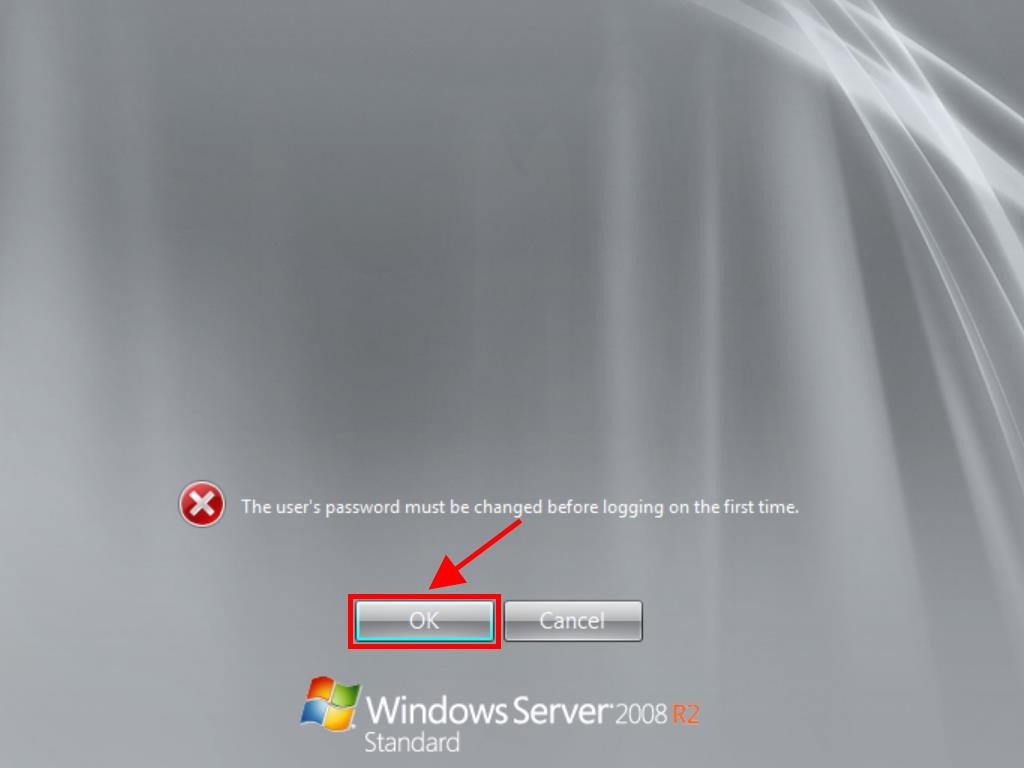
- Upon completion, set a memorable password by clicking OK.
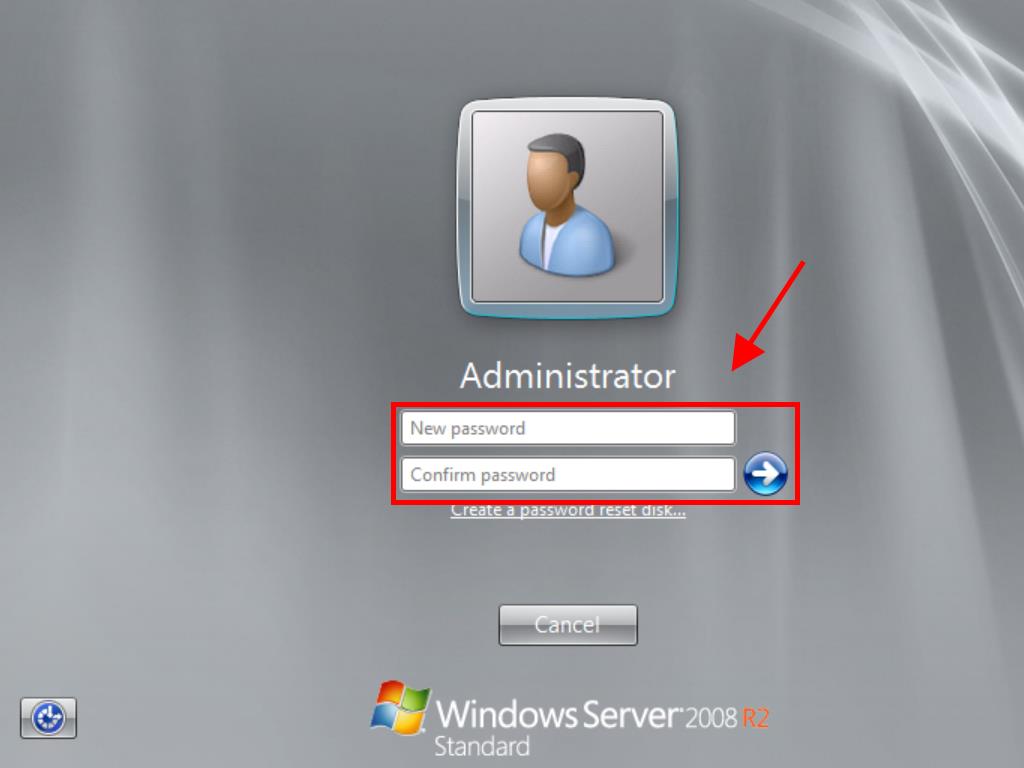
- Enter a password that will be easy for you to remember.
- Congratulations! You have successfully installed Windows Server.

Should the installation fail to start upon reboot, adjust the boot sequence in your PC's BIOS to prioritize USB.

For optimal functionality of Windows Server, we suggest formatting all partitions on the installation drive. For new drives, simply press next.