Sign In / Sign Up
 Orders
 Product Keys
 Downloads

 Go to notfound
Comprehensive Guide to Installing and Activating RDS CALs on Windows Server 2008 R2
Follow these steps to install the Remote Desktop Licensing role service and Remote Desktop Session Host:
Installing the Remote Desktop Licensing Role.
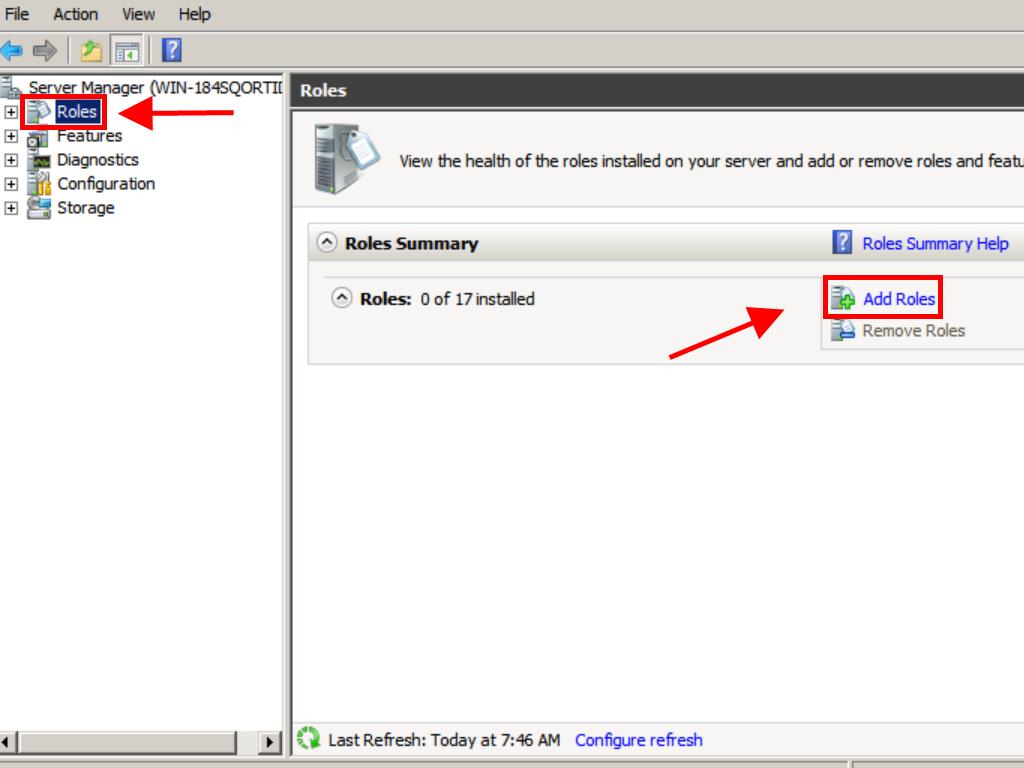
- Open Server Manager by clicking the icon on the taskbar.
- Click on Roles in the top left corner and select Add roles.
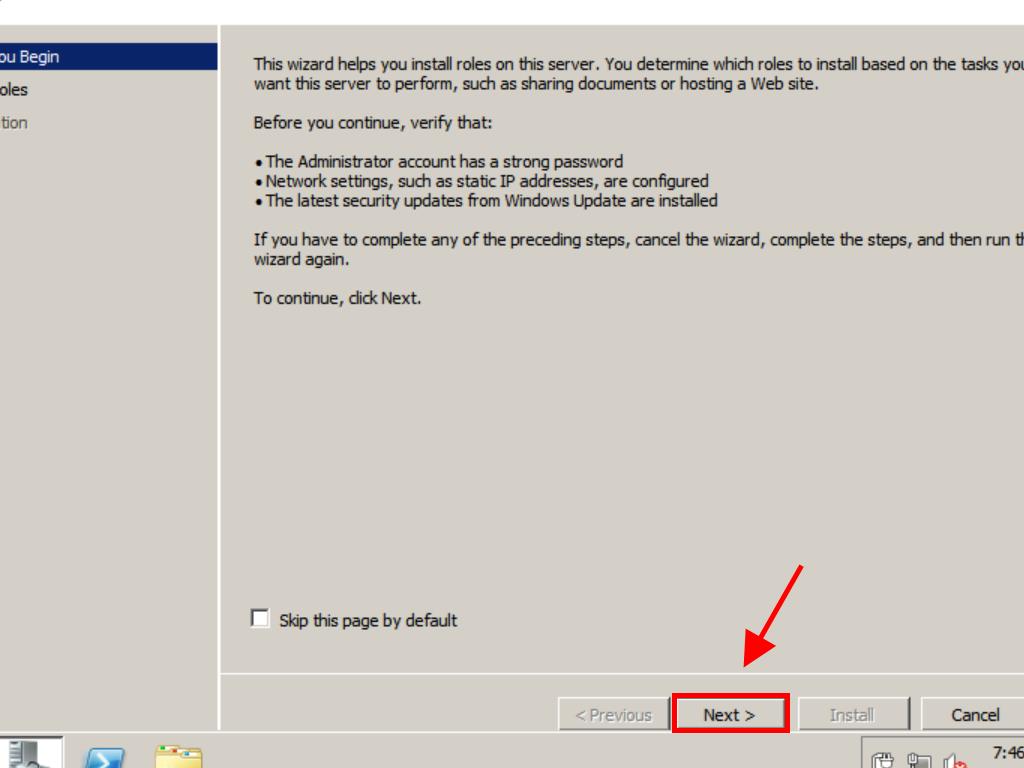
- In the Add Roles Wizard, click Next.
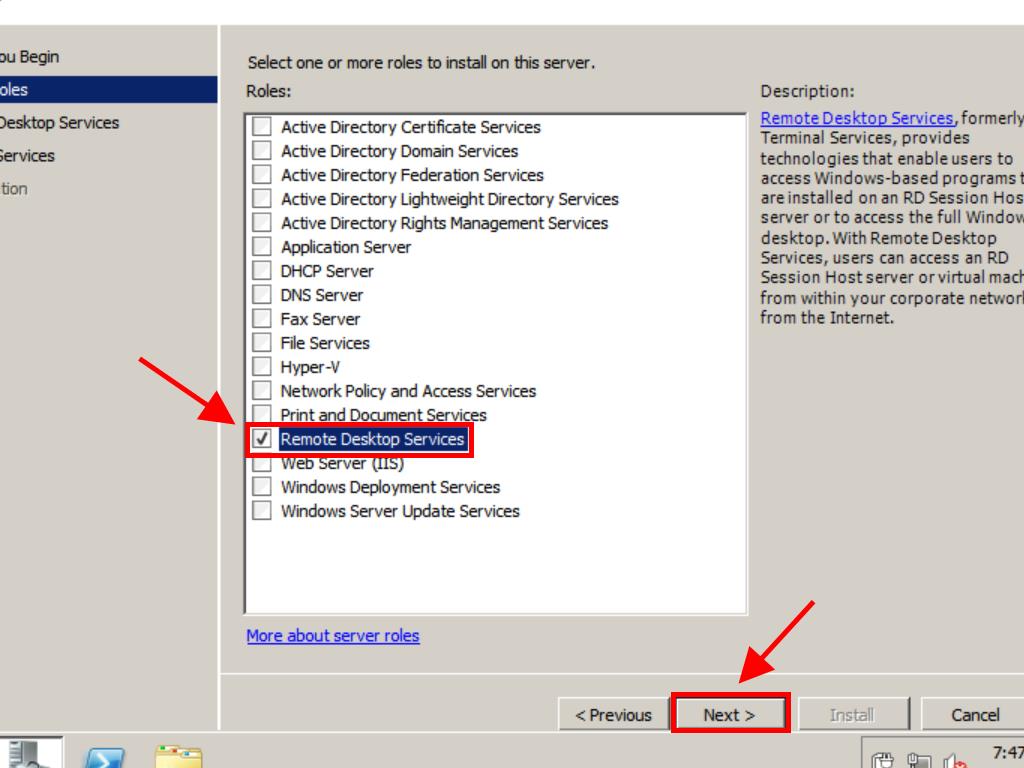
- On the Select Server Roles page, tick Remote Desktop Services and click Next.
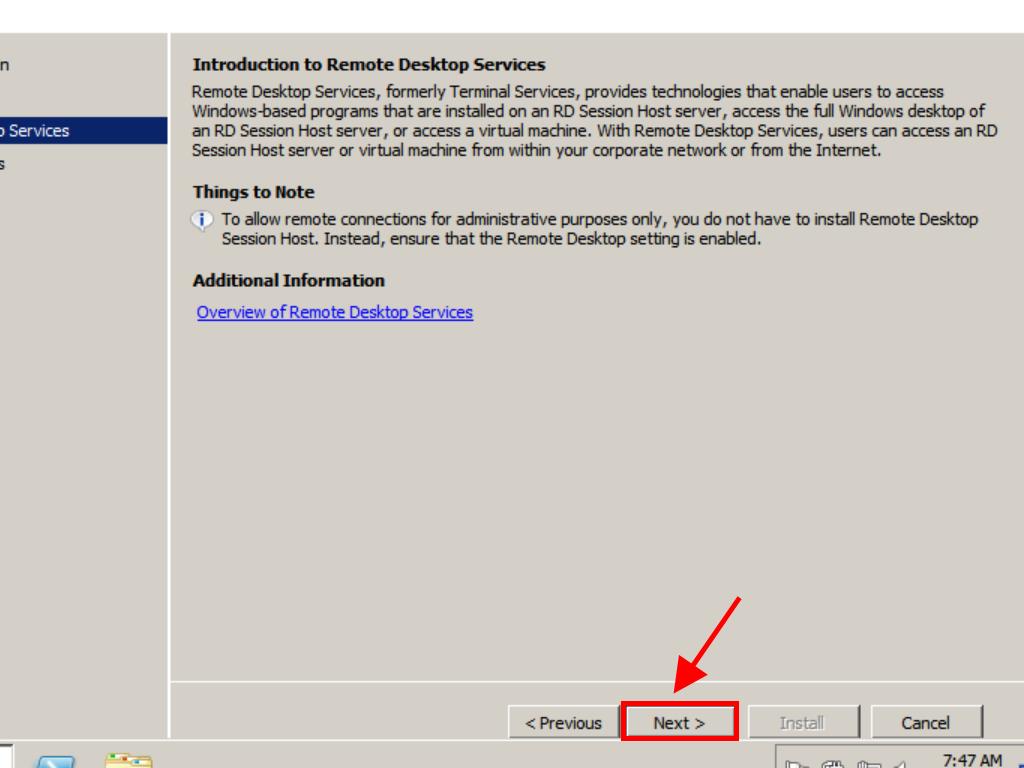
- Click Next again.
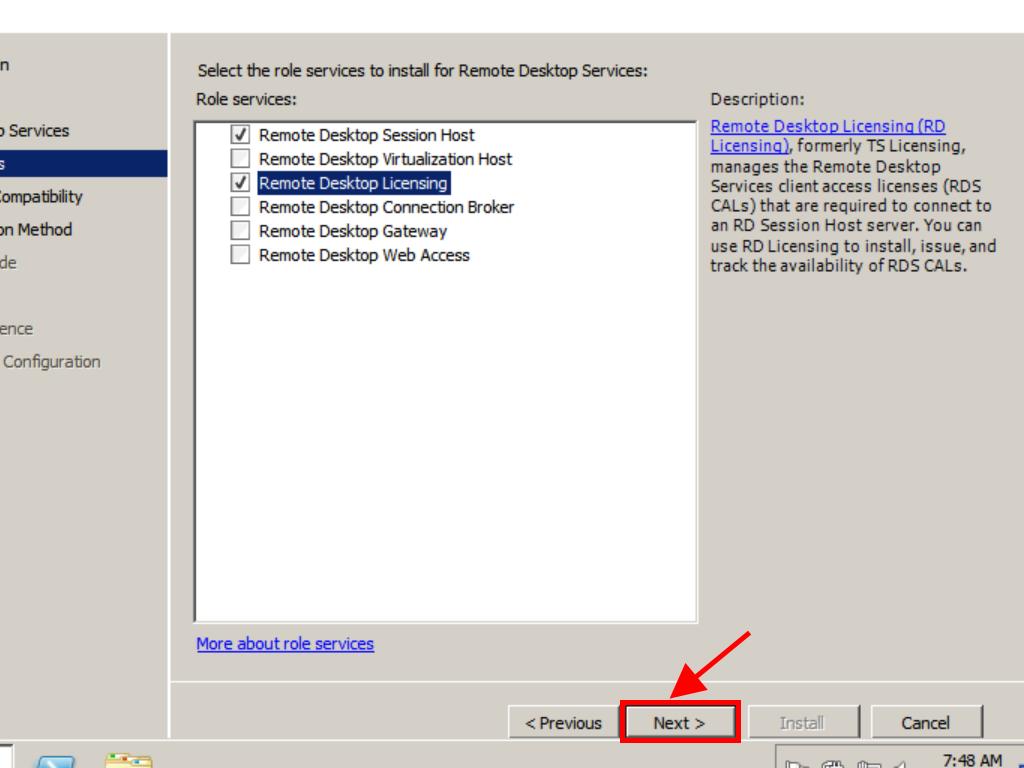
- Select Remote Desktop Licensing and Remote Desktop Session Host, then click Next.
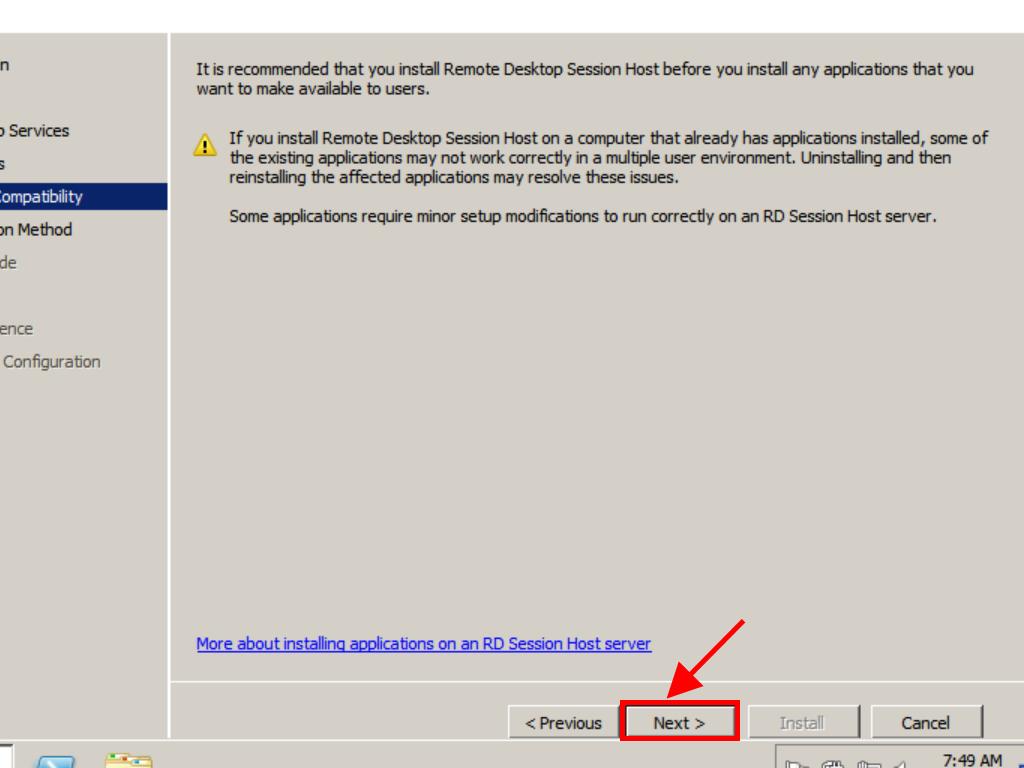
- Click Next to install the Remote Desktop Session Host.
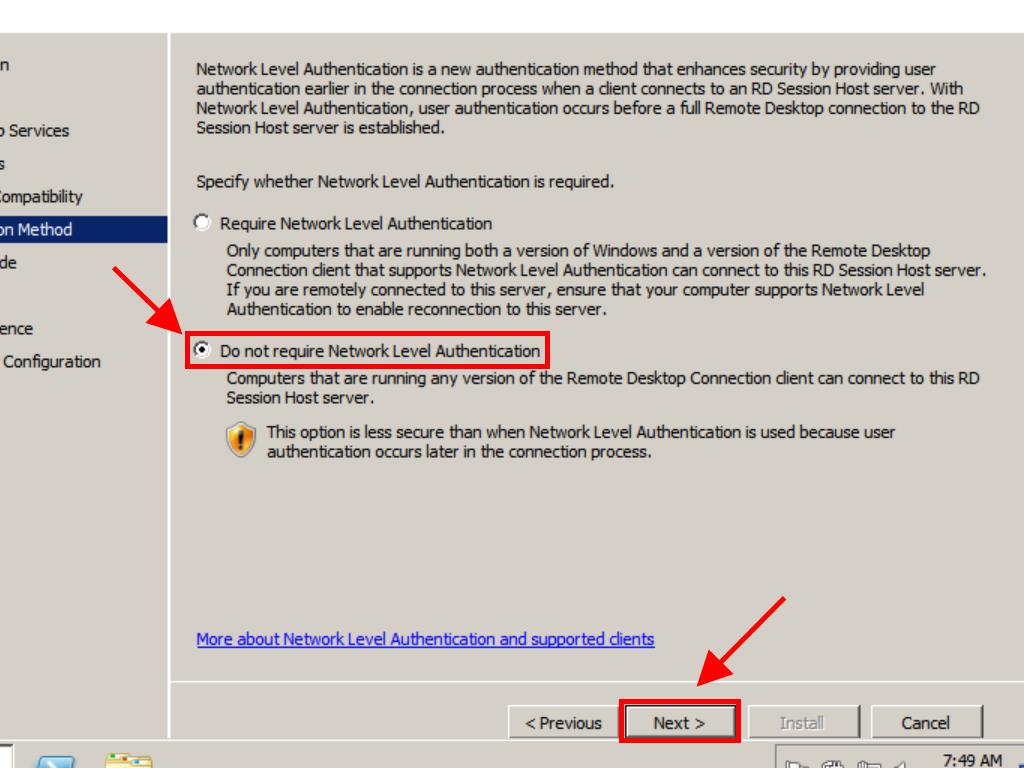
- Choose Do not require Network Level Authentication and click Next.
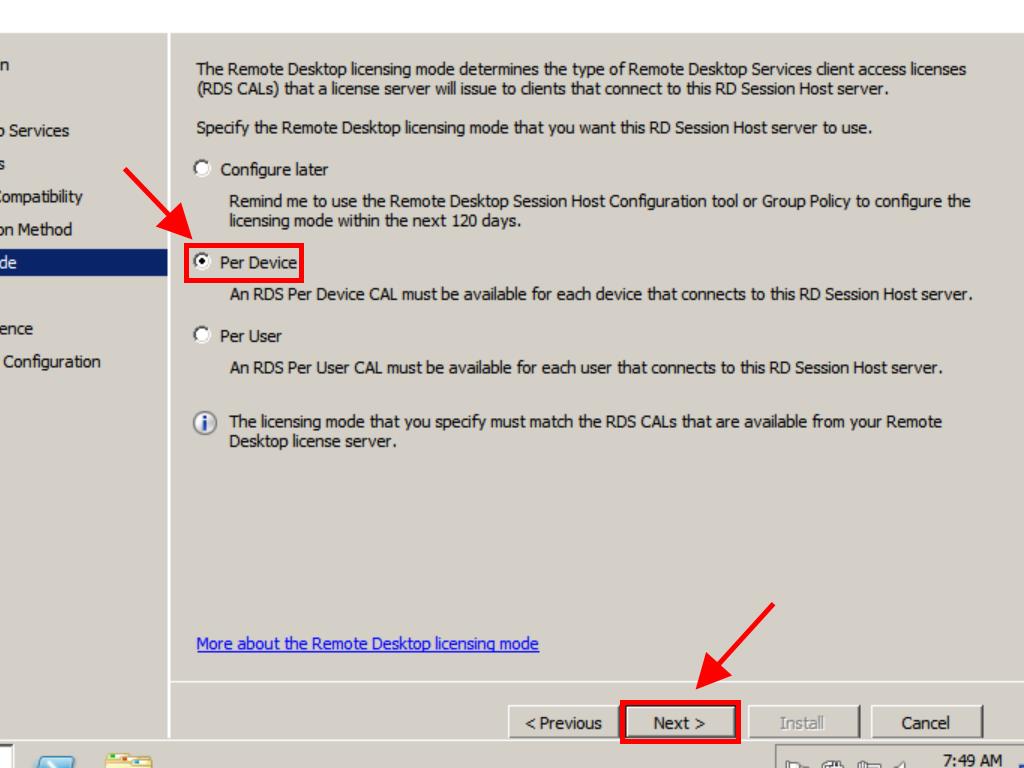
- Choose the type of RDS CALs license (per user or per device) and click Next.
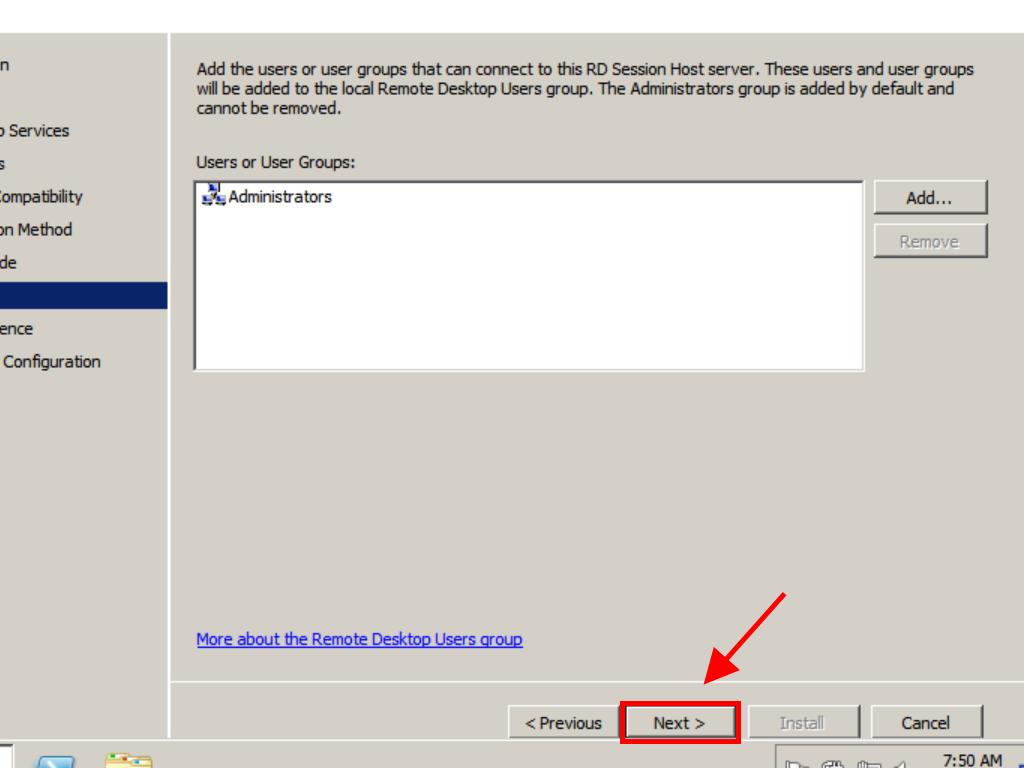
- Enter the users who will connect to the server and click Next.
- Select the options you want to enable for users and click Next.
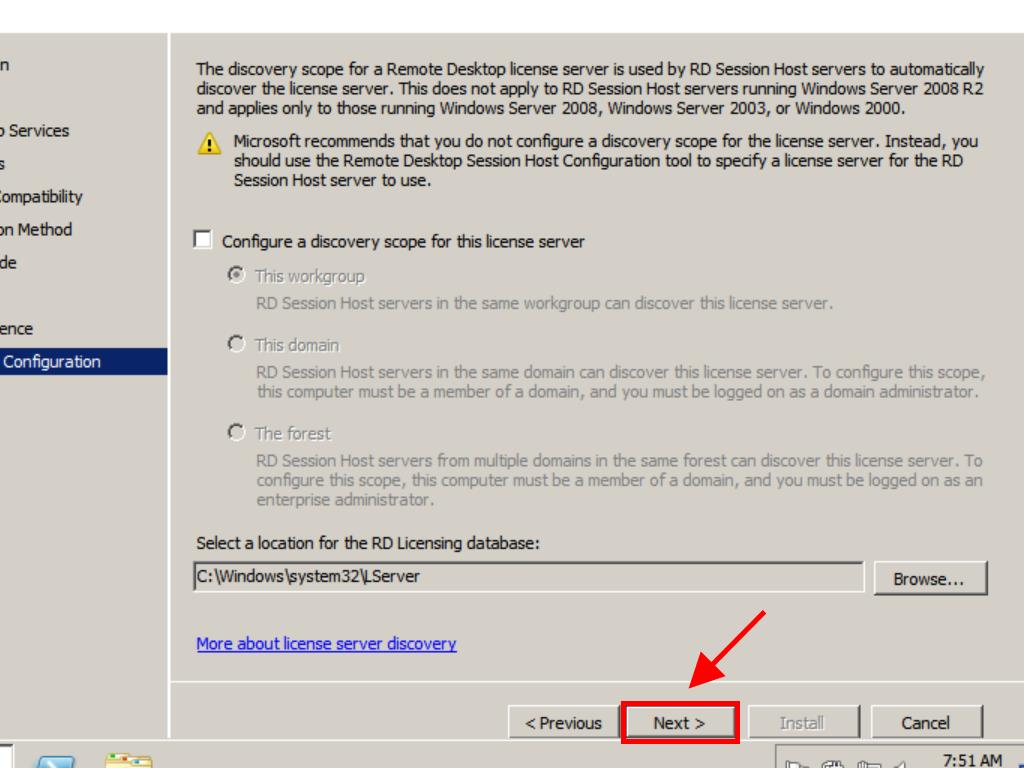
- Click Next.
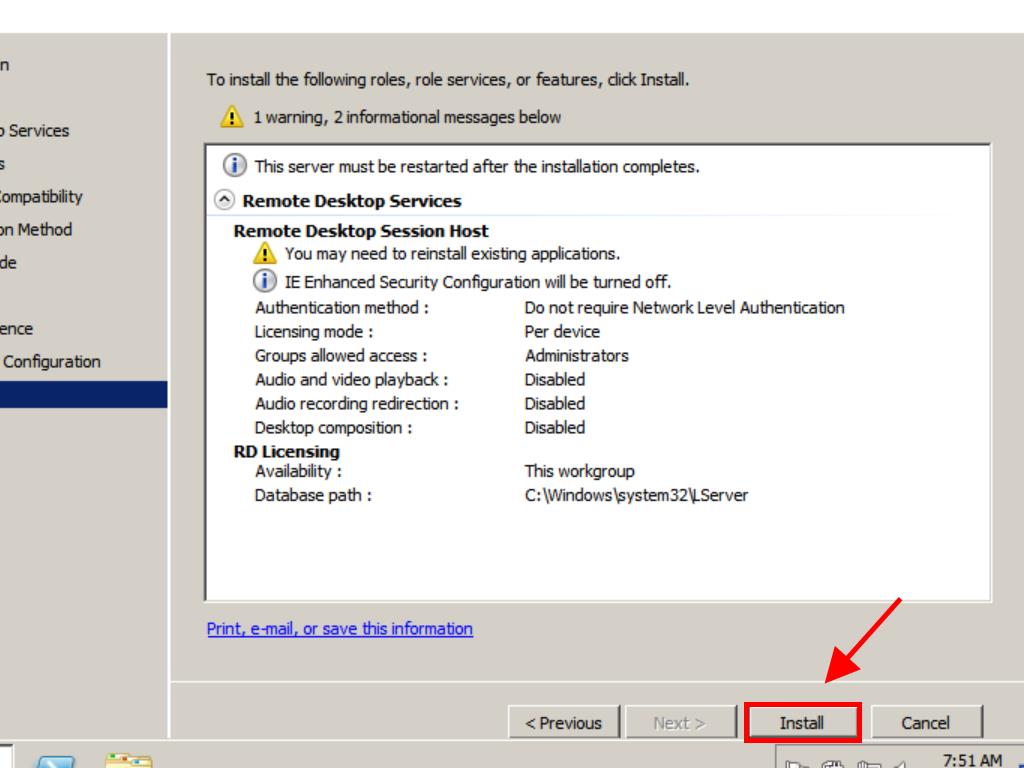
- Click Install.
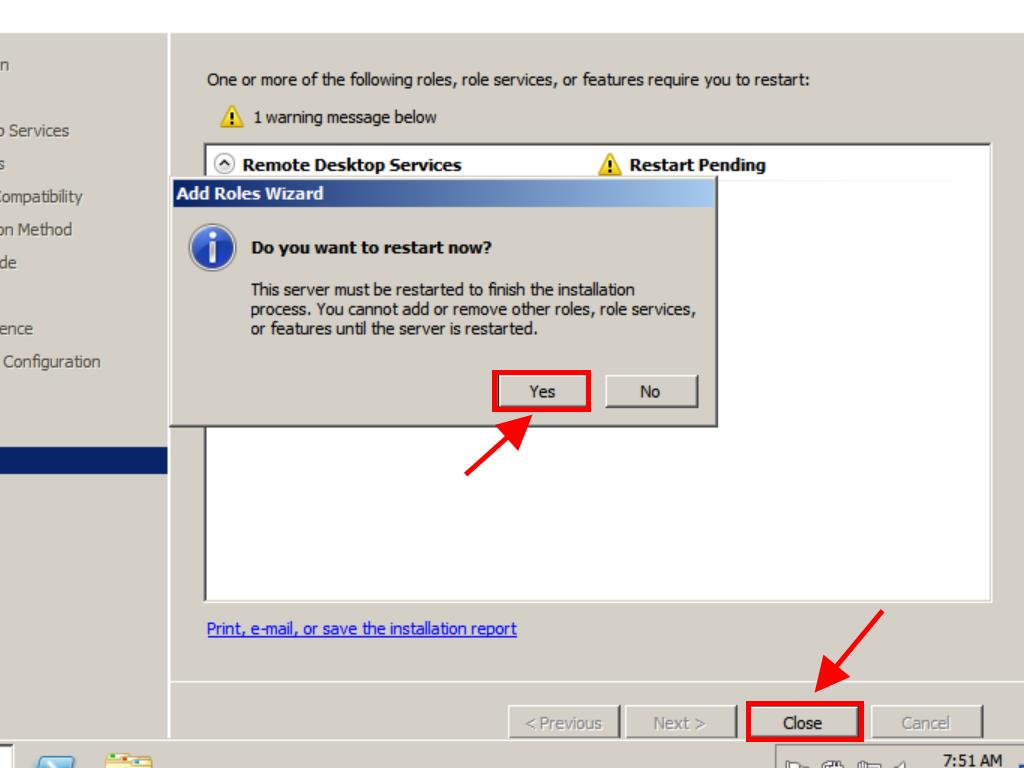
- Wait for the role to be configured. Once complete, select Close and click Yes to restart the server.
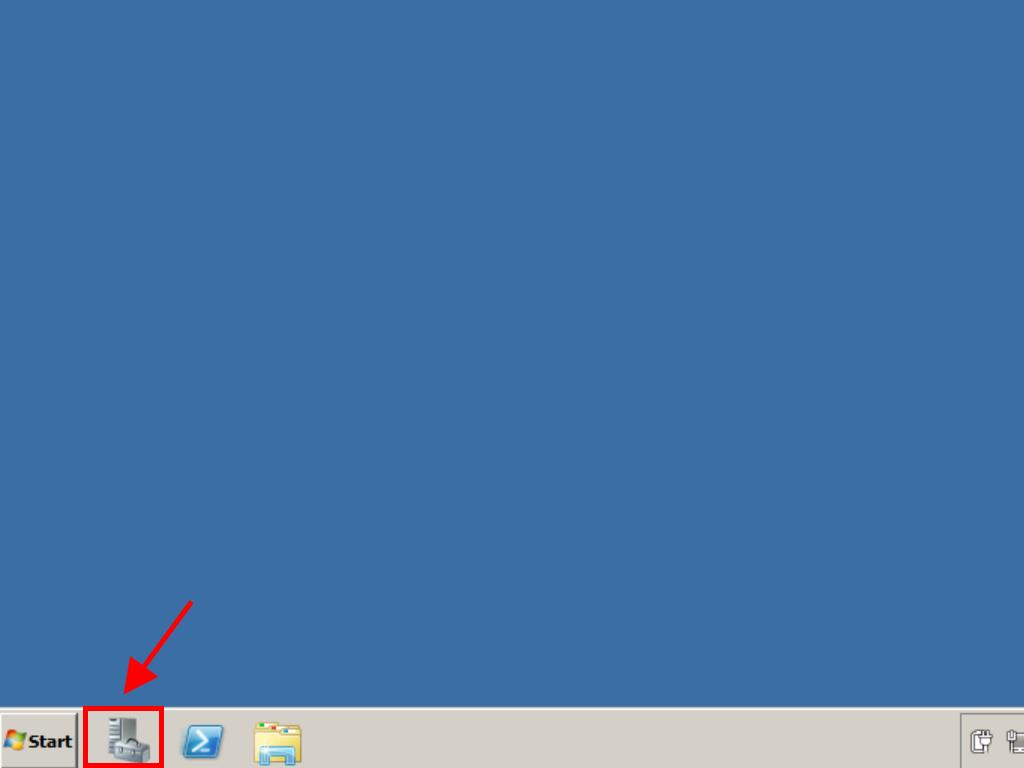
- To activate the Remote Desktop Licensing server, open Server Manager from the taskbar.
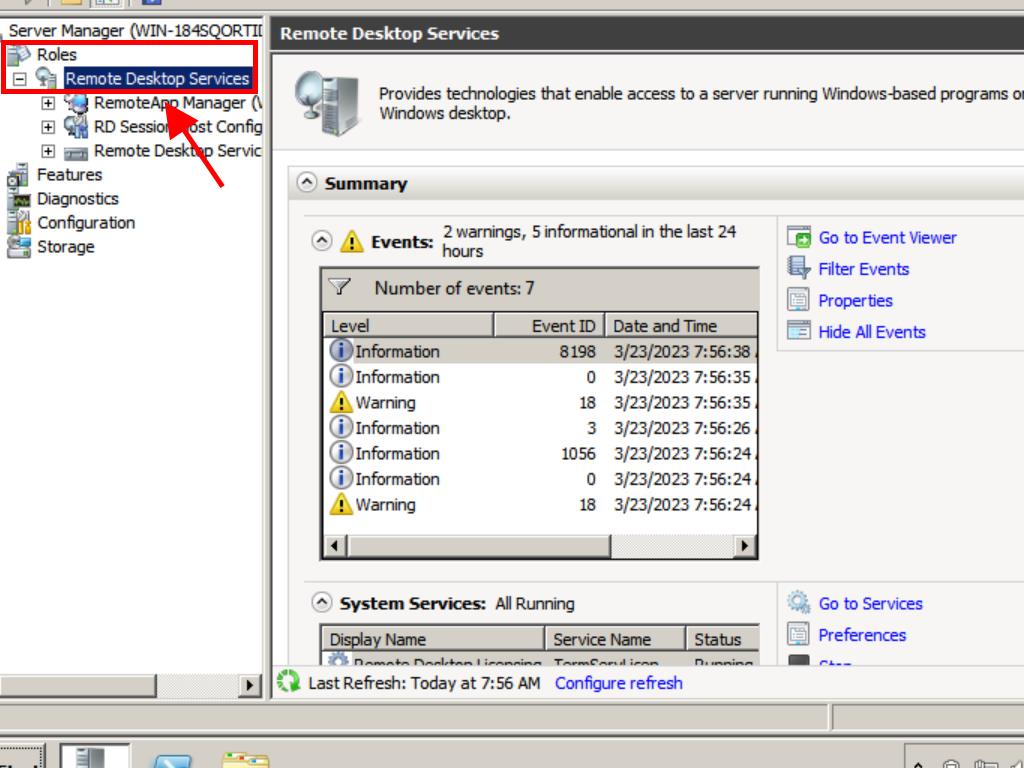
- Click on the + sign next to Roles and select Remote Desktop Services.
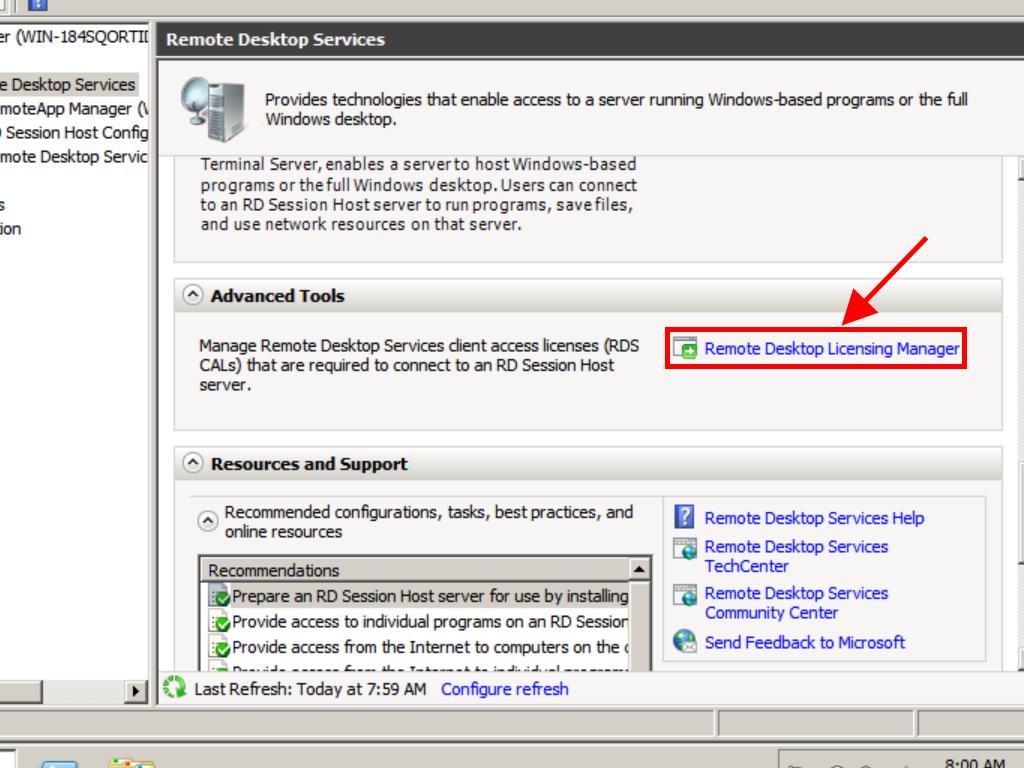
- Scroll down and click on Remote Desktop Licensing Manager under the Advanced Tools tab.
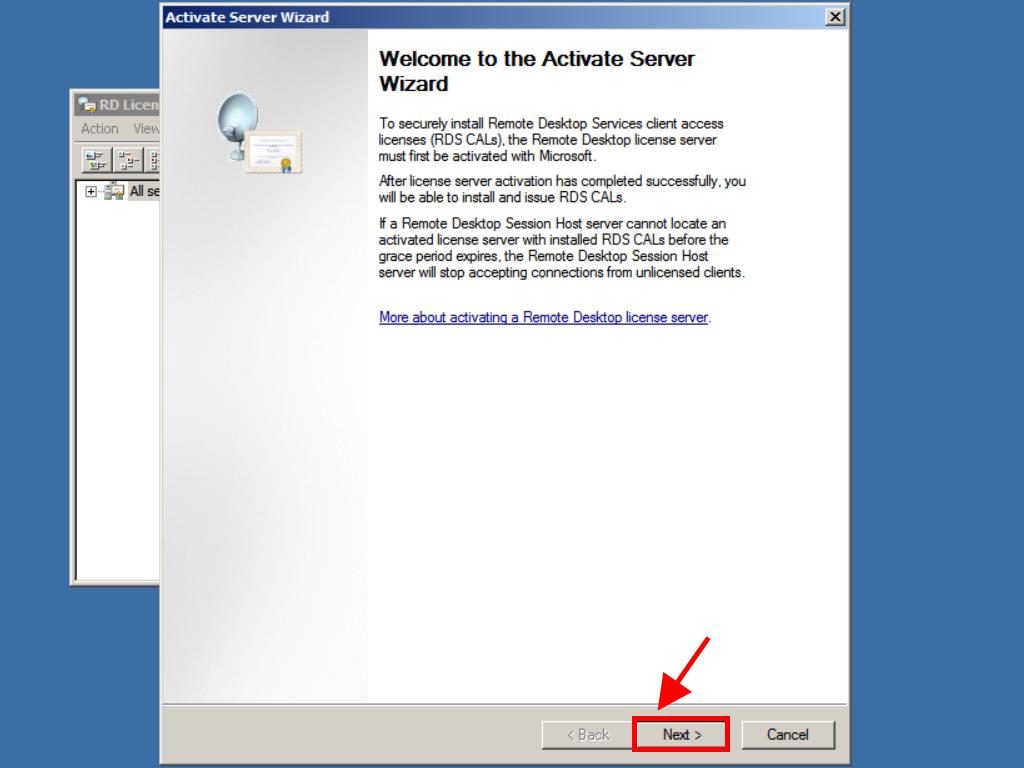
- Right-click on the server and select Activate Server.
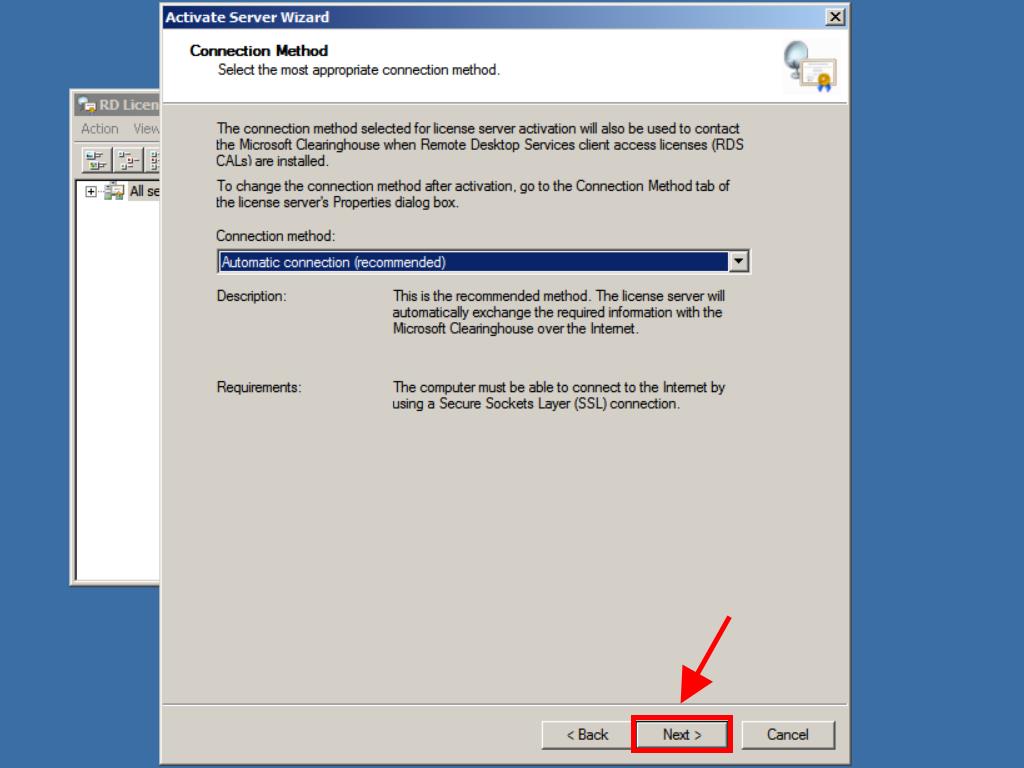
- Follow the server activation wizard by clicking Next.
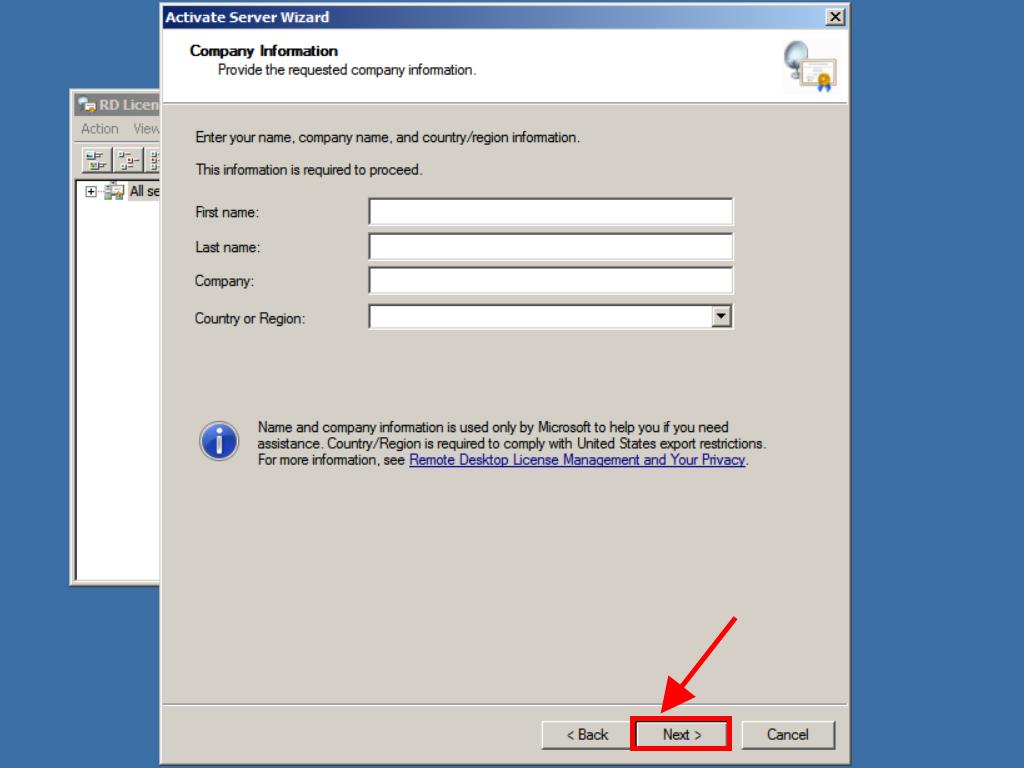
- Enter the company name and region, then click Next.
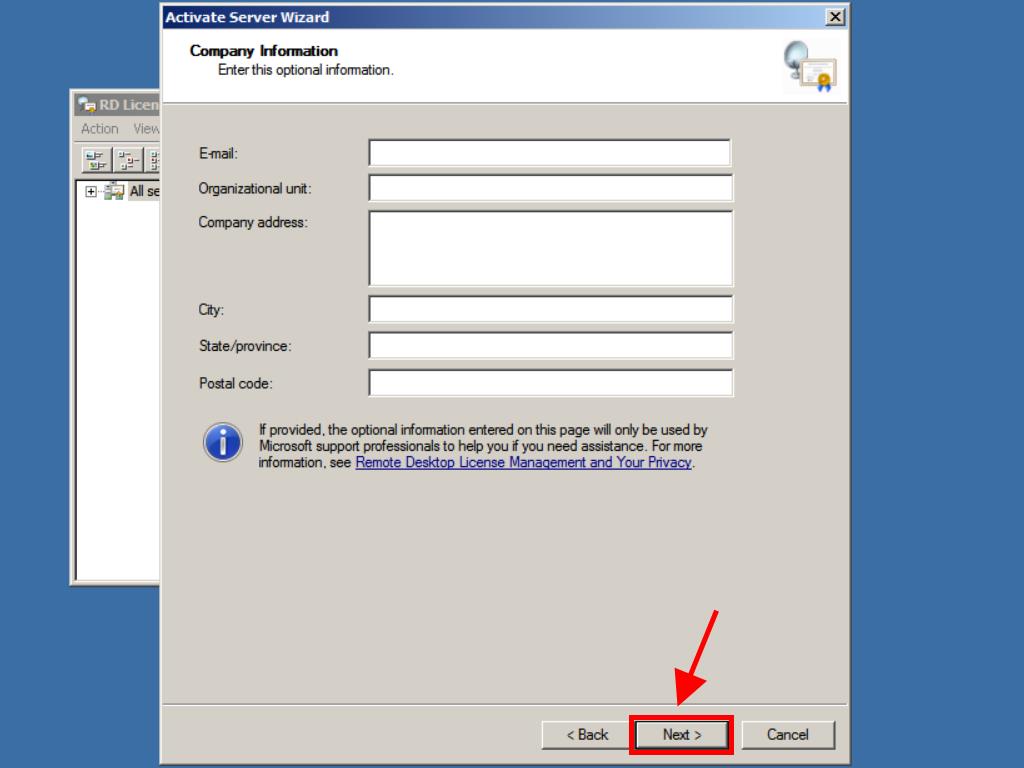
- Enter the company information and click Next.
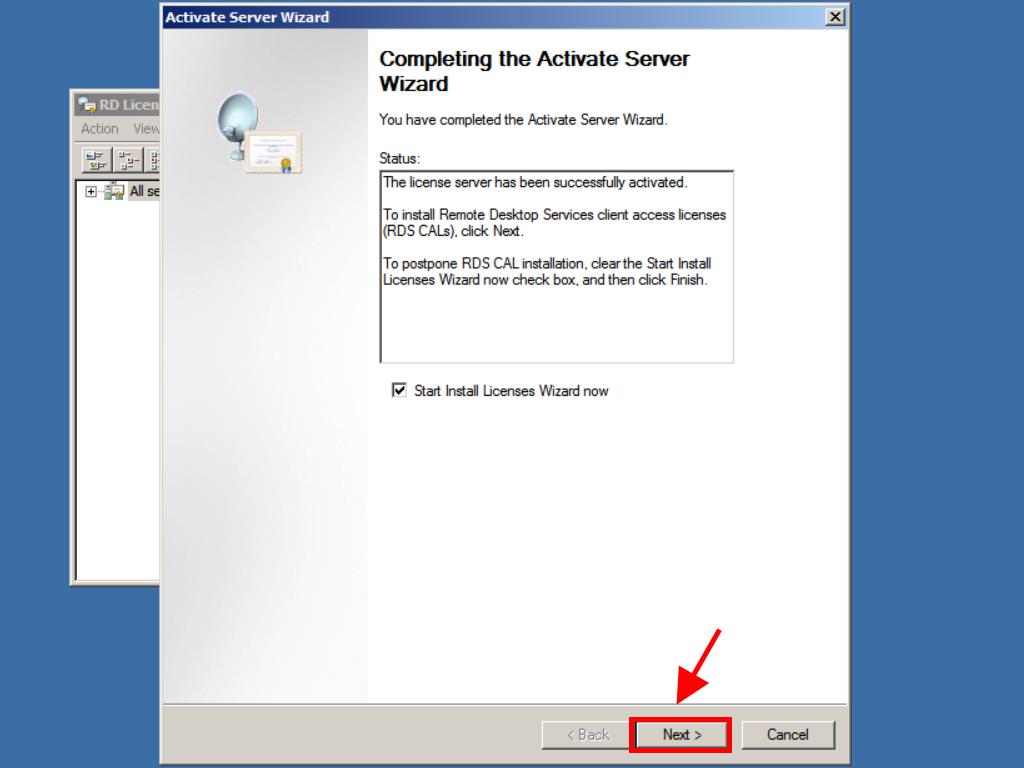
- The server activation wizard is complete. Click Next.
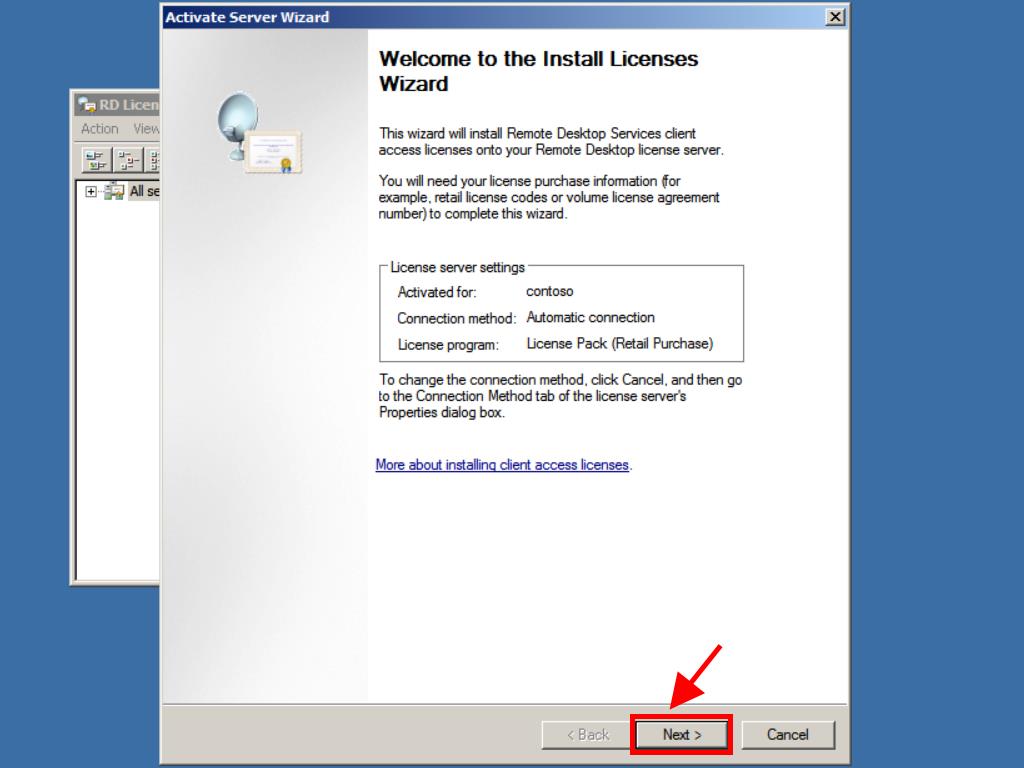
- You will see a summary of your server configuration. Click Next.
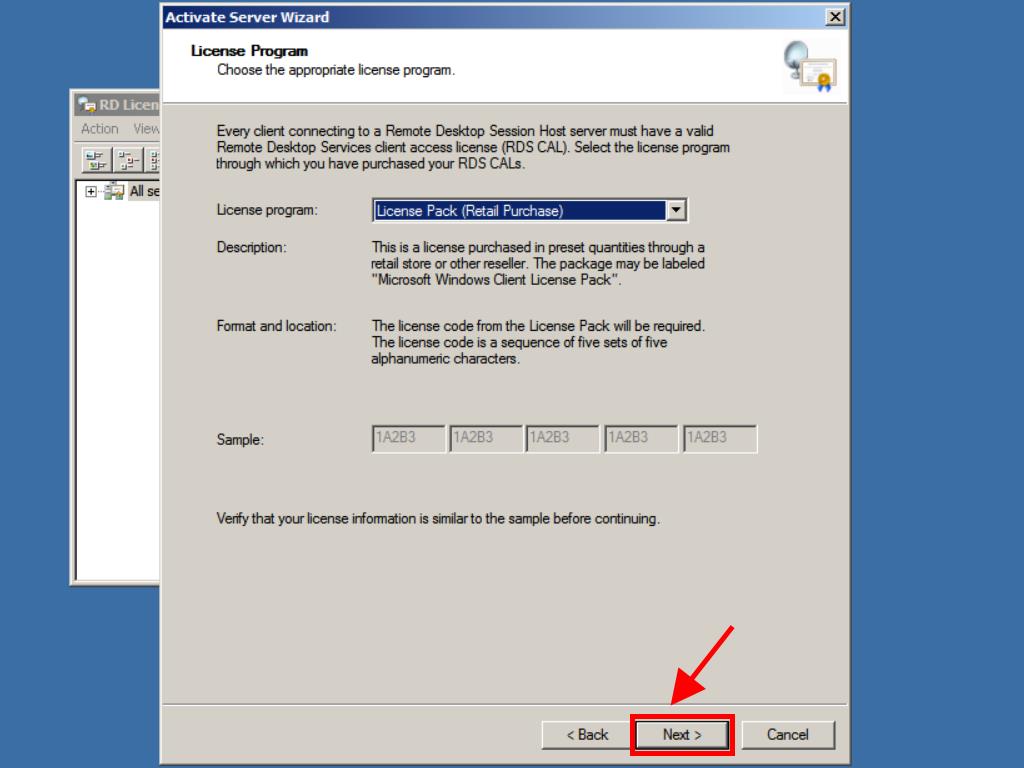
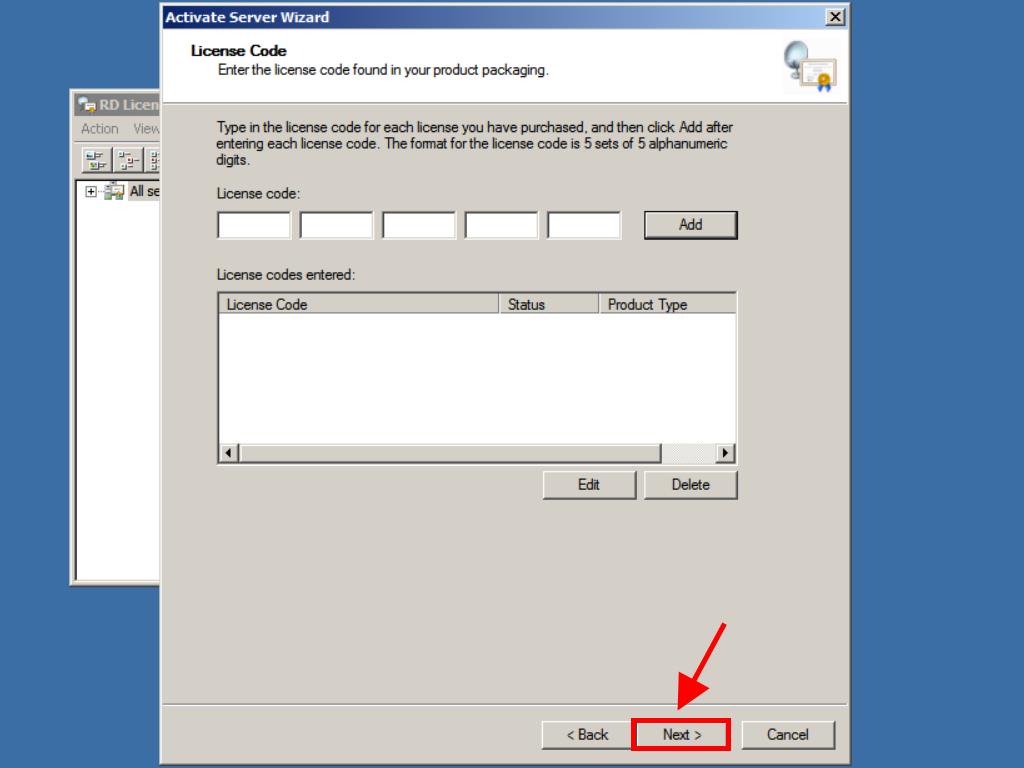
- In the License Program, select Pack. lic. (Box or prod. pack) and click Next.
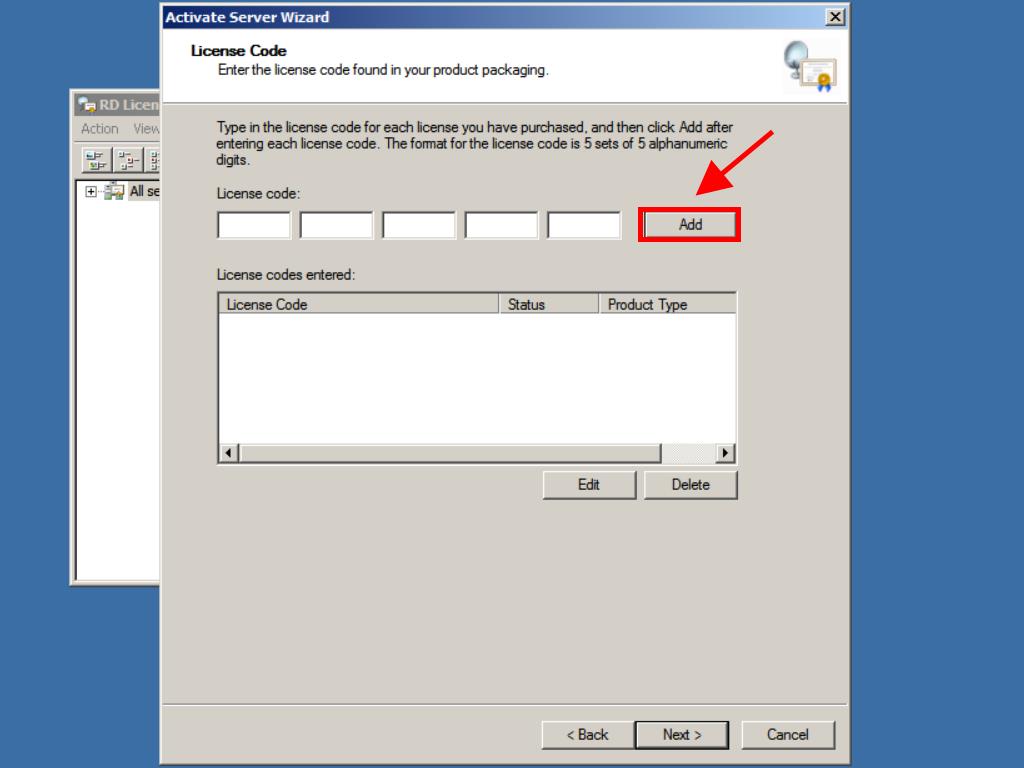
- Enter your RDS CALs product key and click Add.
- After the license is recognised, click Next.
- The License Installation Wizard will confirm the installation. Click Finish.
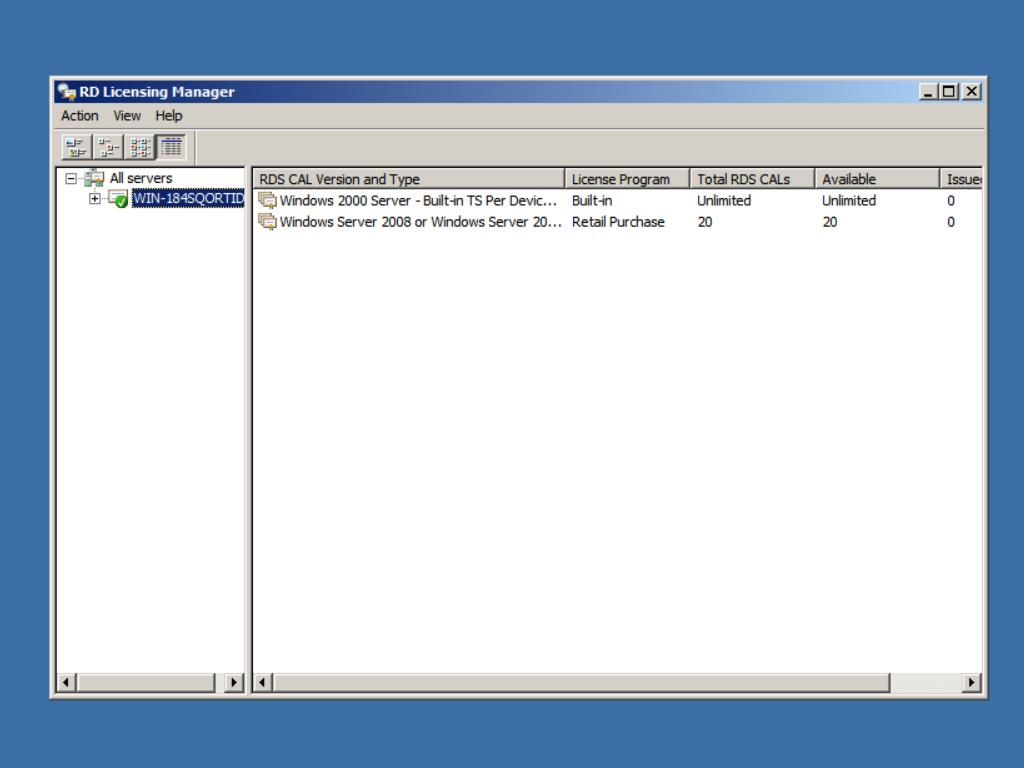
- Your licensing server is now ready to issue and manage licenses. Check this by selecting your server's name, where you will see available and issued licenses, which should be zero.
- After installation, open the Remote Desktop Licensing Manager from Server Manager to verify the configuration.

Note: For this guide, we will select the Per device option.