Sign In / Sign Up
 Orders
 Product Keys
 Downloads

 Go to notfound
Creating a Bootable USB for Windows 7 Installation
After obtaining your Windows 7 .iso file, you'll need to set up a bootable USB device for installation.
Remember: A USB stick with at least 4 GB of space is necessary.
To make your USB bootable, use this tool:
Rufus
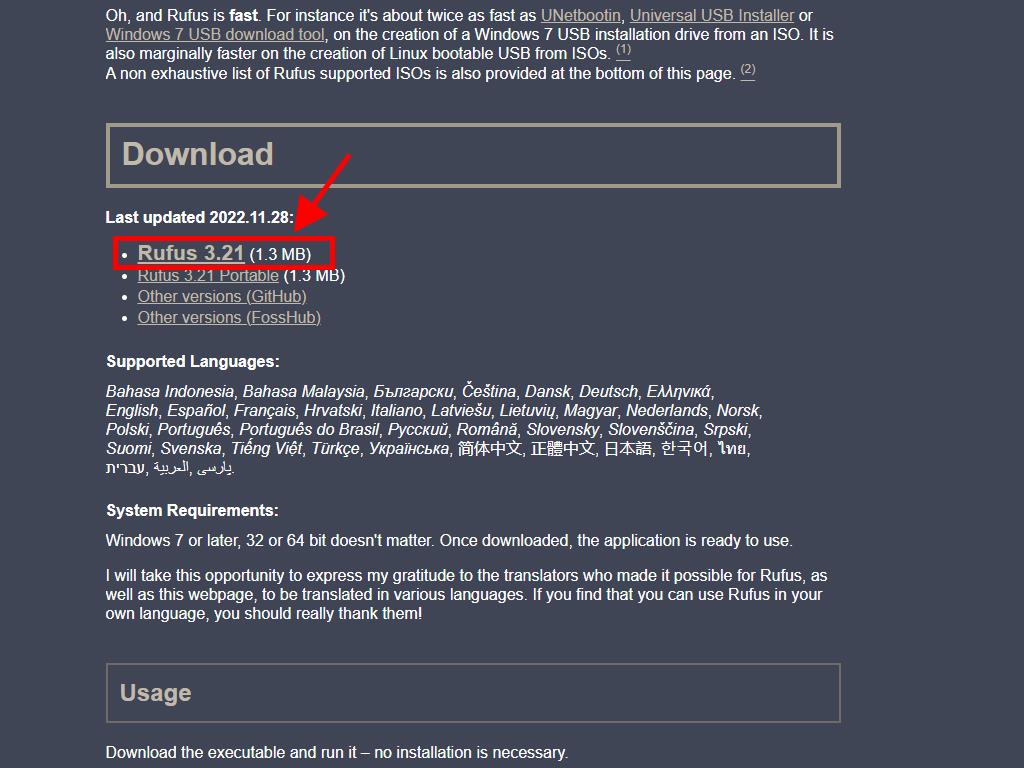
- Click here to download Rufus for free.
- Find the latest version of Rufus in the Download section and download it.
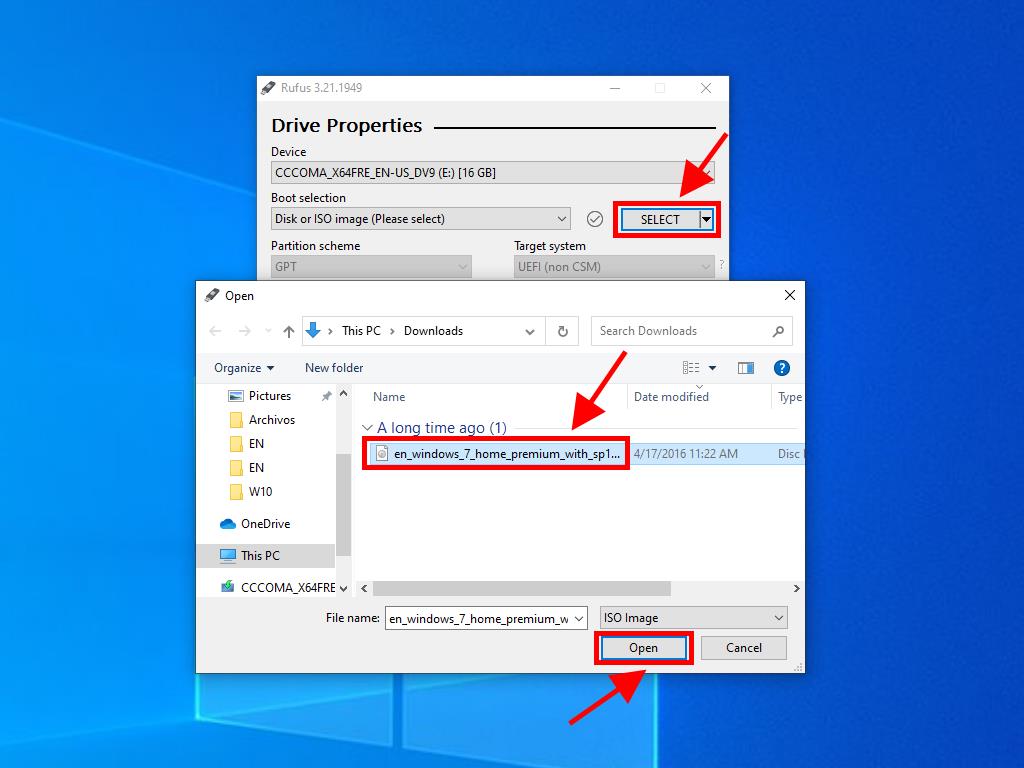
- Plug in your USB and launch the Rufus application.
- Hit Select and navigate to the Windows 7 .iso file you wish to use.
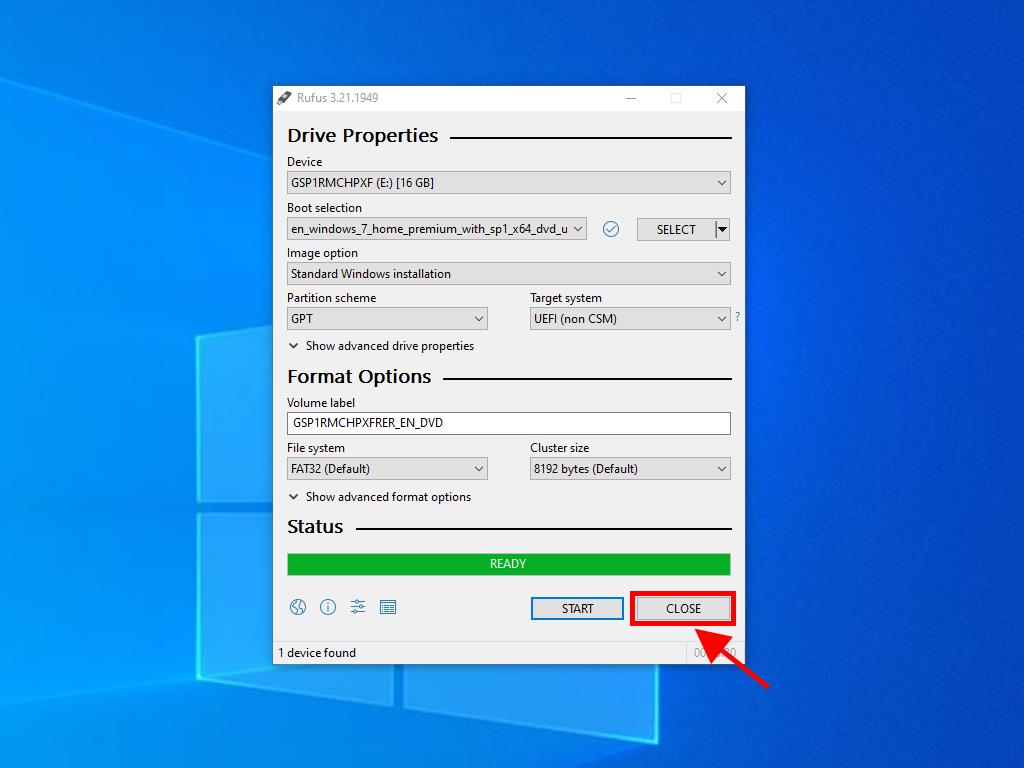
- Press Start and allow Rufus to configure the USB drive.
- When the setup reaches 100% completion, press Close; your USB is now ready for Windows 7 installation.
Alert: A window titled Customize Windows Installation might pop up. Choose the Disable Data Collection option and wait for the drive setup to complete.

Note: For PCs post-2020, select the GPT partition scheme. For older models, choose MBR.