Sign In / Sign Up
 Orders
 Product Keys
 Downloads

 Go to notfound
Professional Installation Guide for Office 2013 on Multiple Windows Versions
To set up Office 2013, consider your PC's operating system. Below, we demonstrate the installation process for different Windows versions:
Procedure for Installing Office 2013 on Windows 8.1, 10, and 11
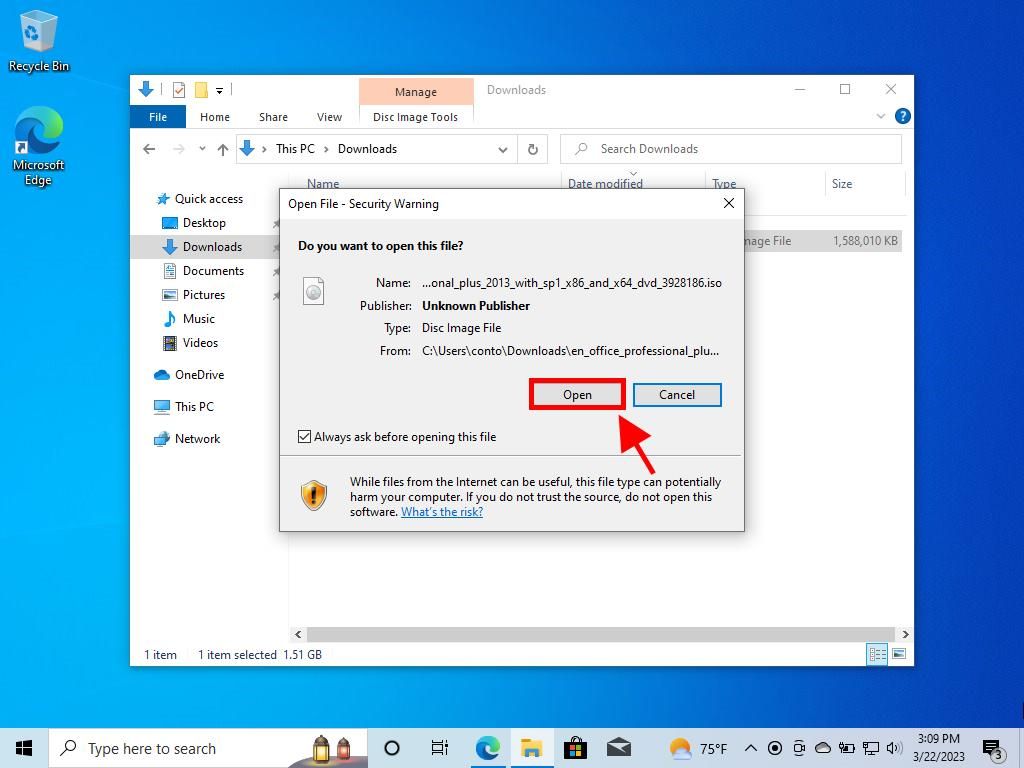
- After downloading the Office 2013 .iso file, locate it and double-click on it. In the pop-up window, click Open.
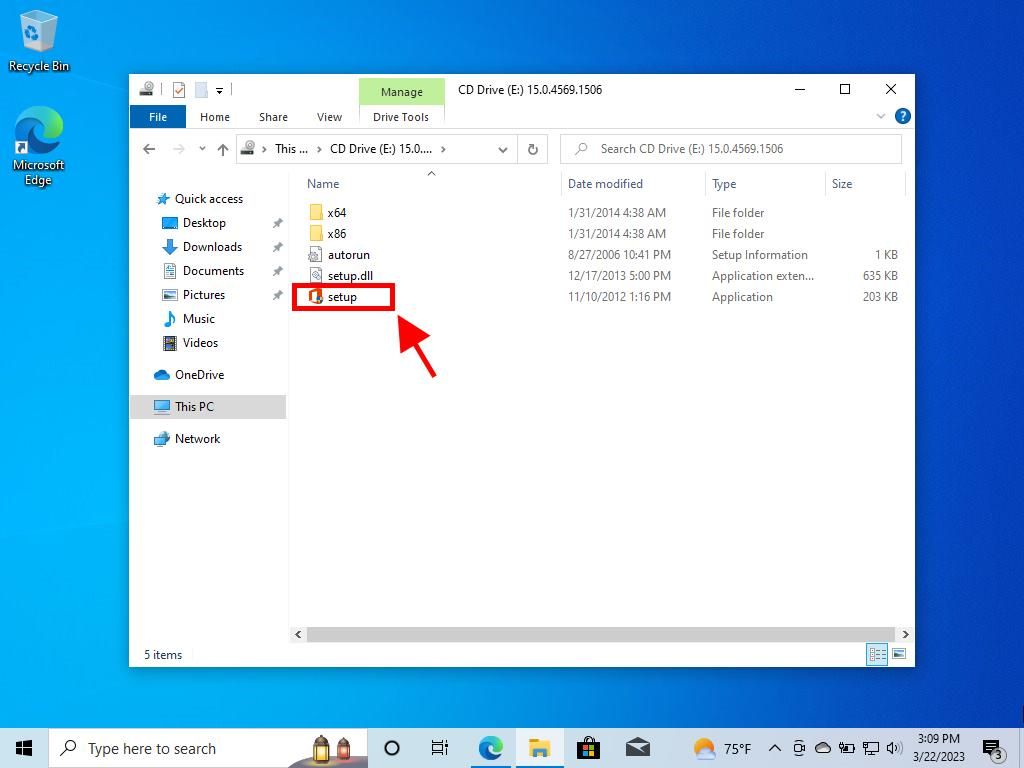
- A new window will open; double-click on the Setup file.
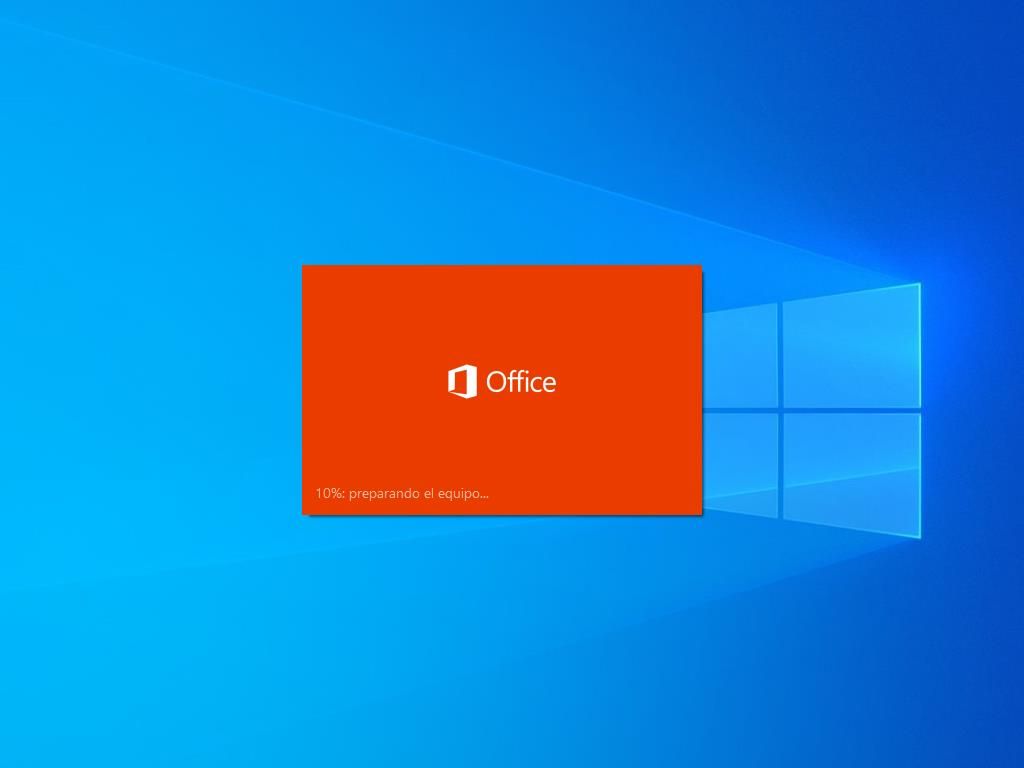
- Wait a few minutes while Office installs.
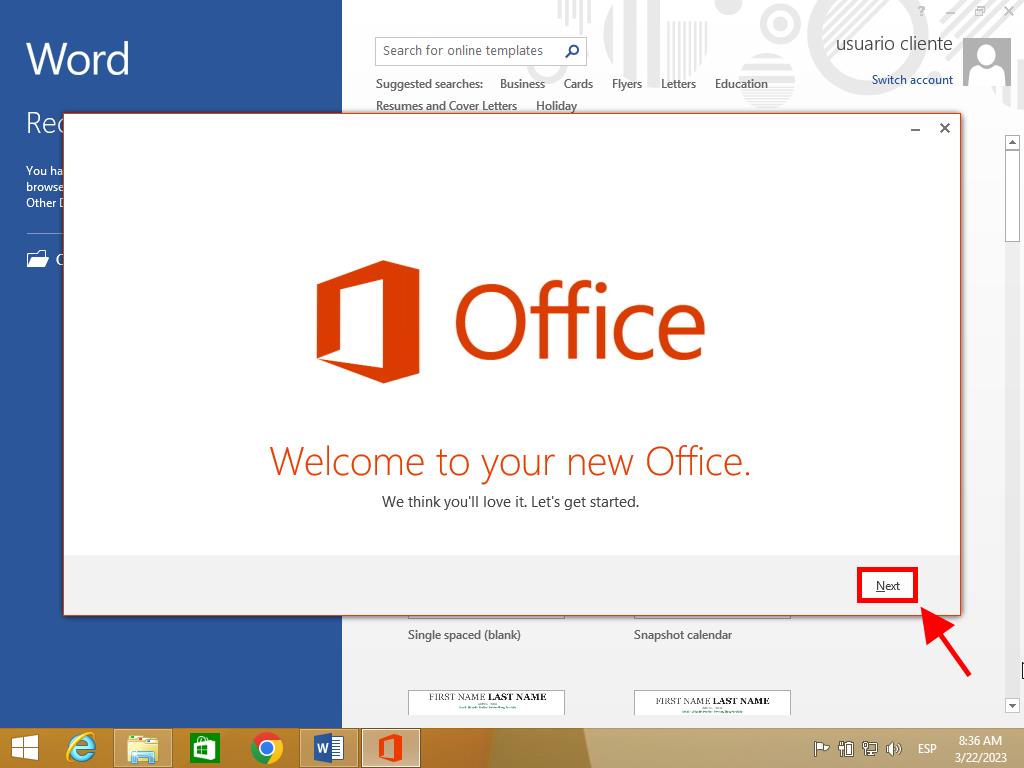
- Click Next.
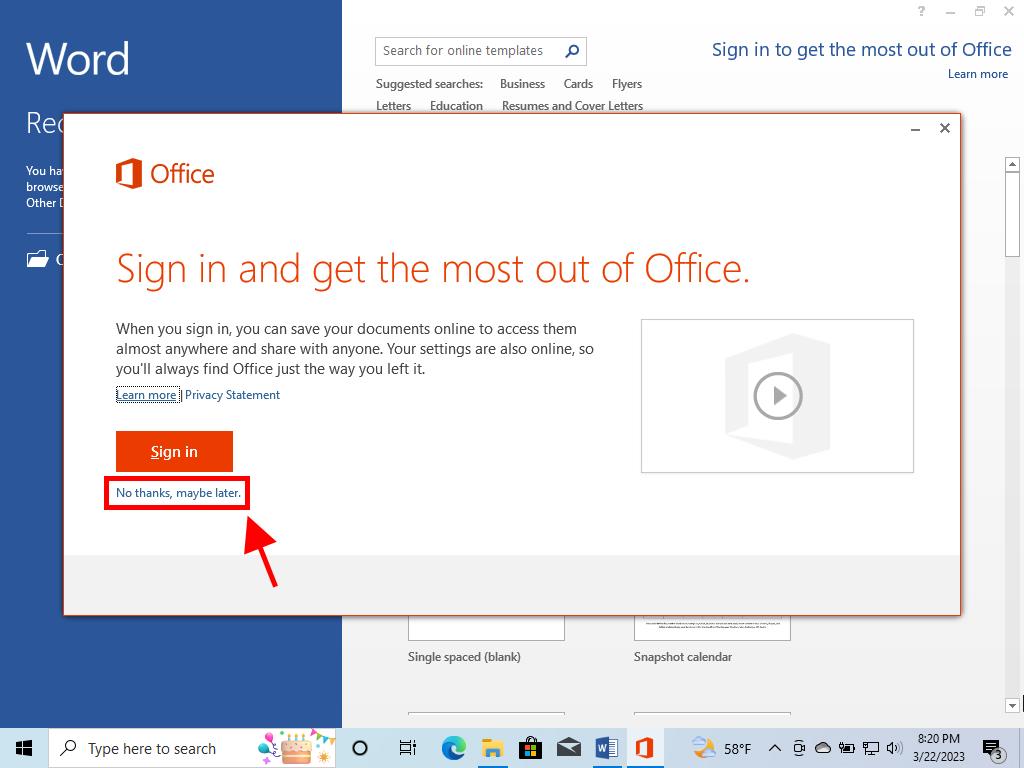
- In the next window, click No, thanks. Maybe later.
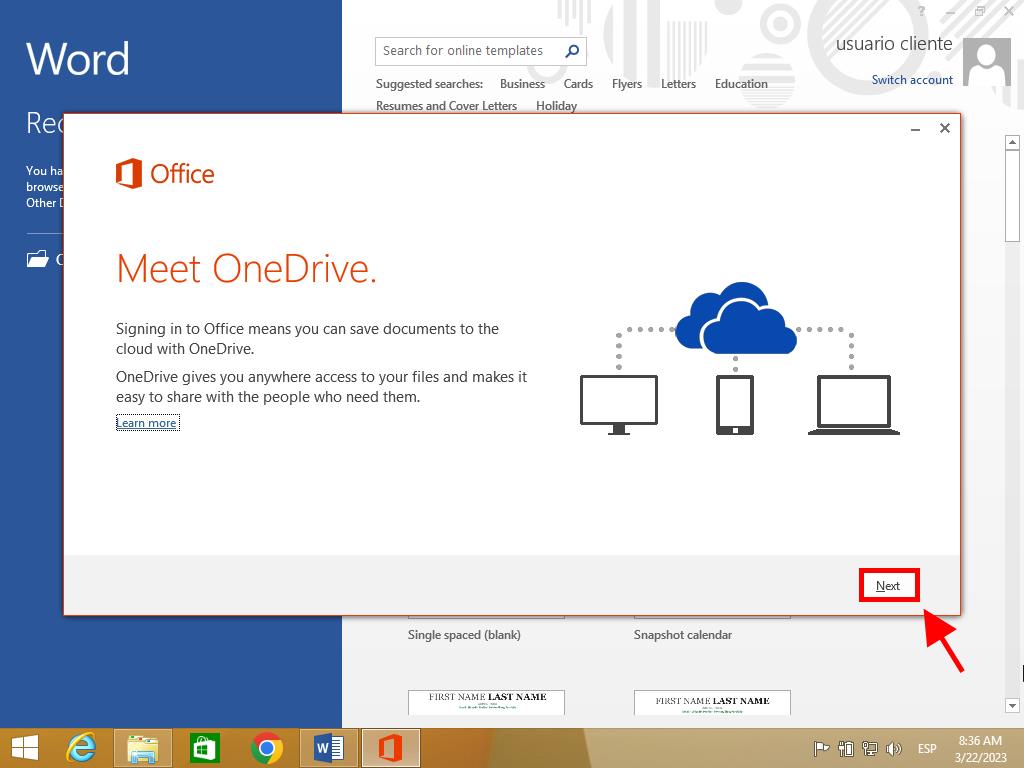
- In this image, click Next.
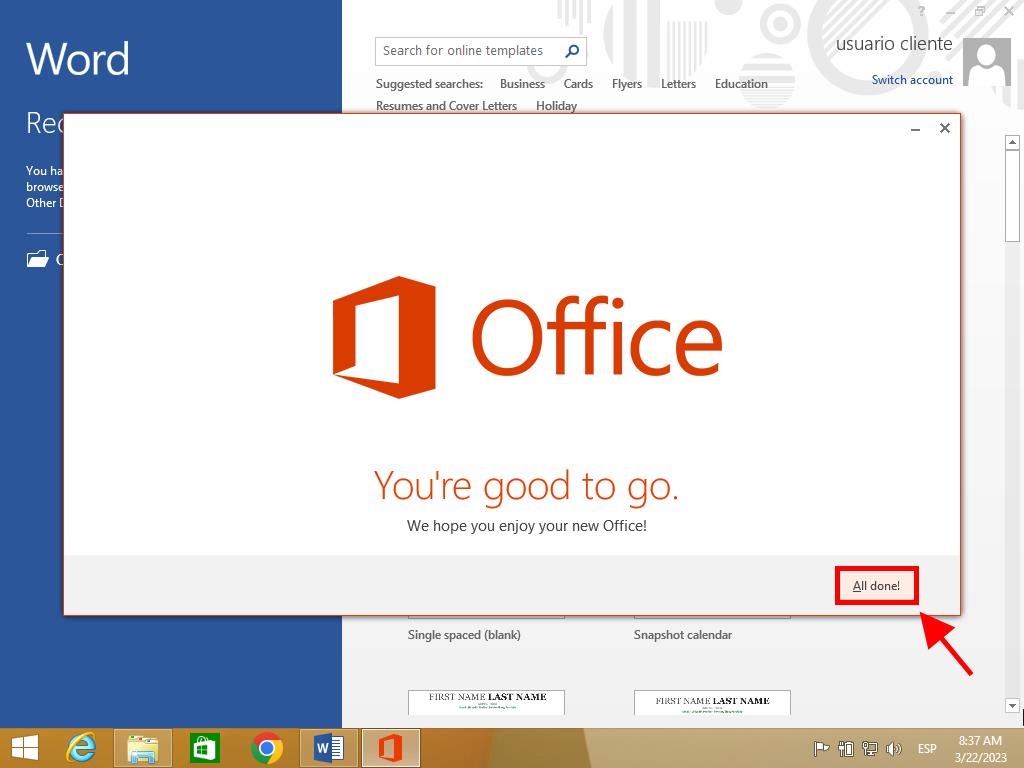
- Finally, click All done!.
- Your Office 2013 is now installed and ready to use.
Procedure for Installing Office 2013 on Windows 7 and 8
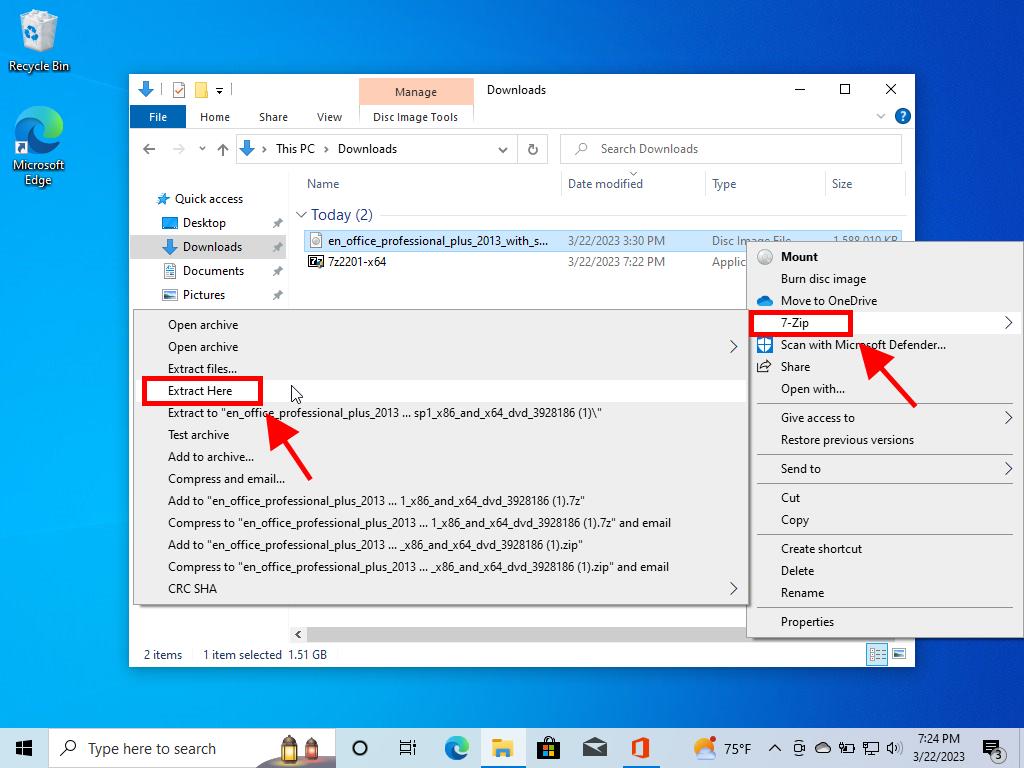
Note: To install and activate Office 2013 on Windows 7 and 8, you need a file compression program installed on your PC, such as WinRAR, WinZip, or 7-Zip. In this guide, we use 7-Zip.
- After downloading the Office 2013 .iso file, locate it and right-click on it. Select 7-Zip and click Extract here.
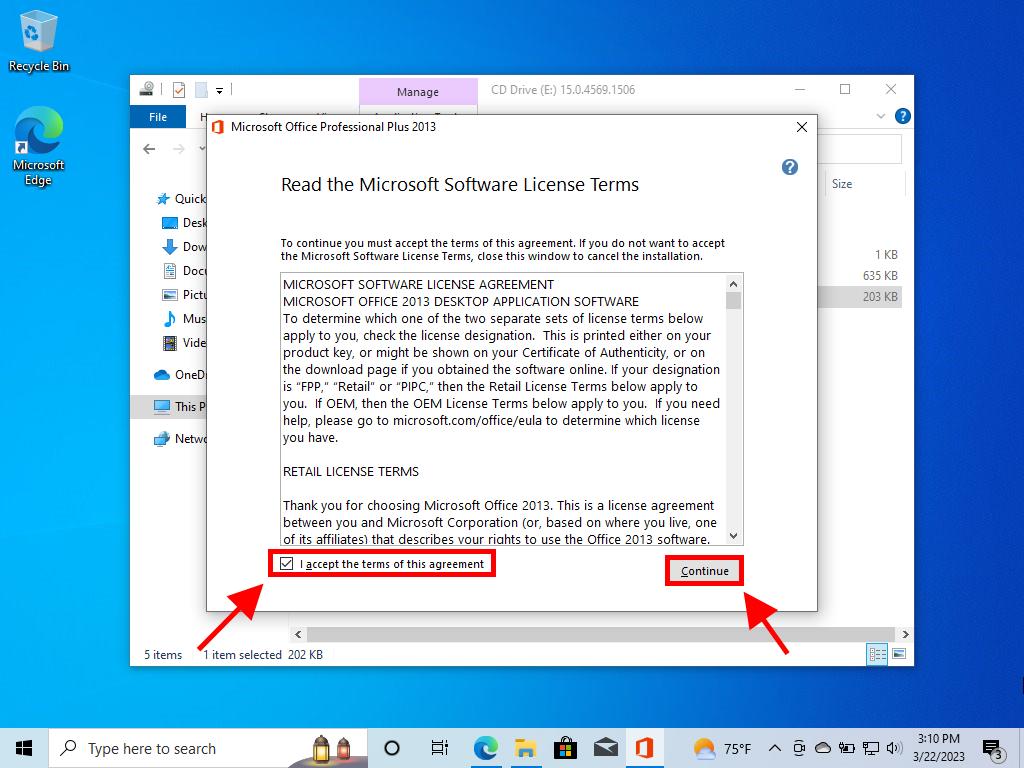
- After the file is extracted, double-click the Setup file at the bottom of the window.
- Tick the box to accept the terms and conditions and click Continue.
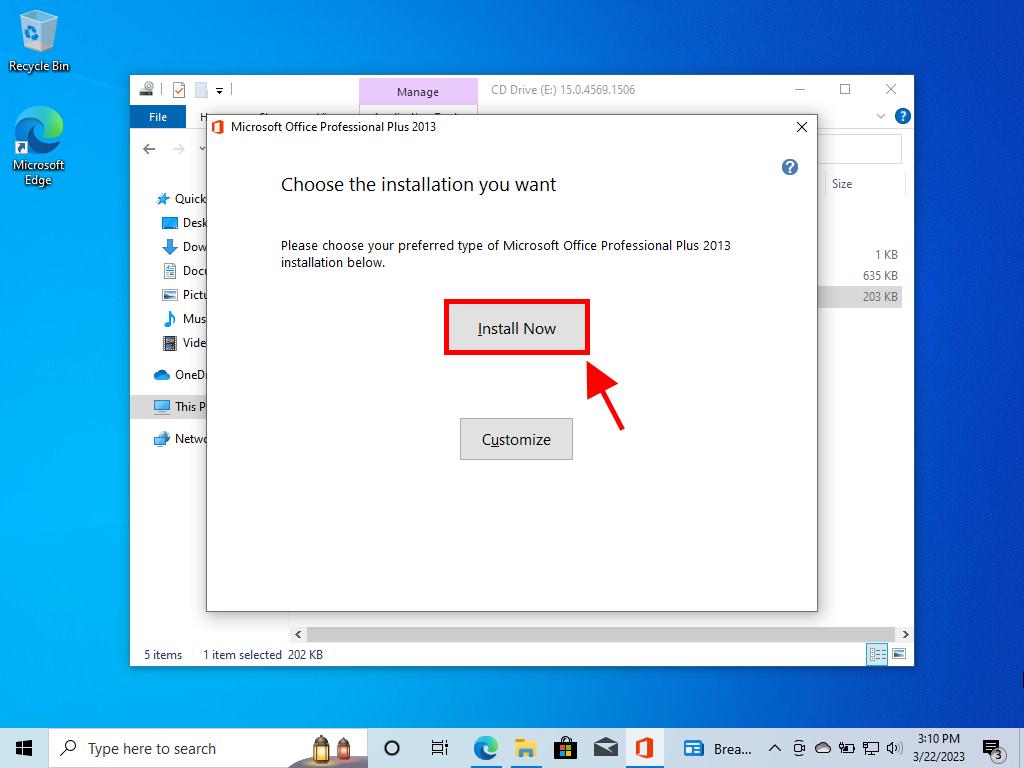
- Next, click Install now.
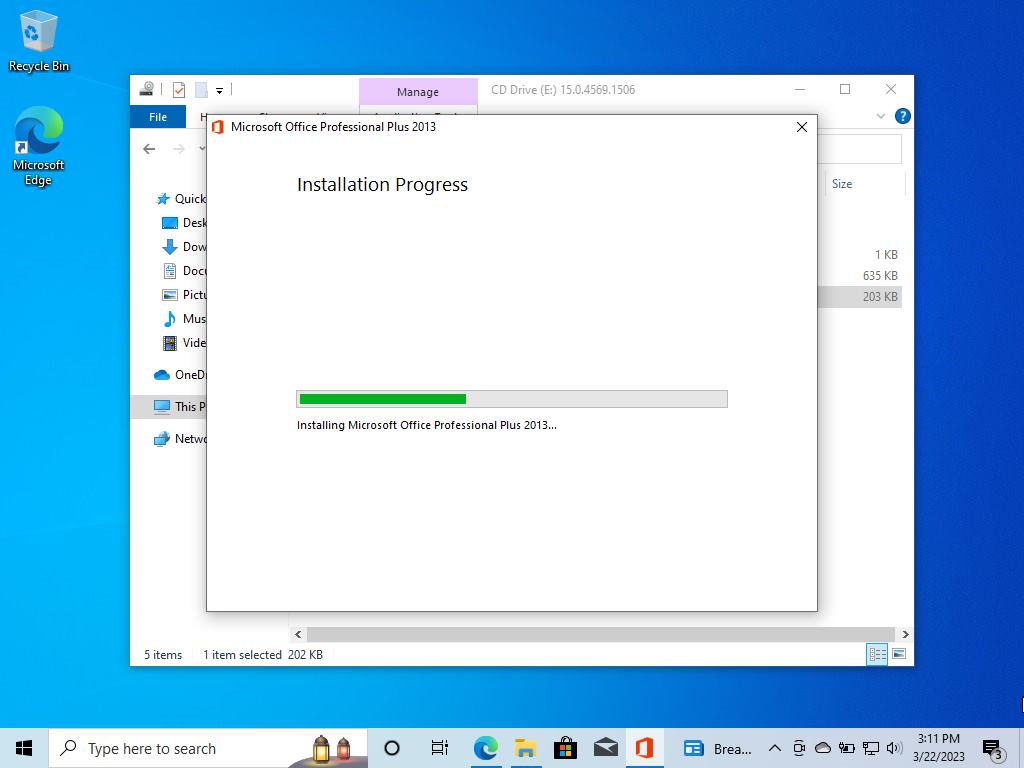
- Wait a few minutes while Office installs.
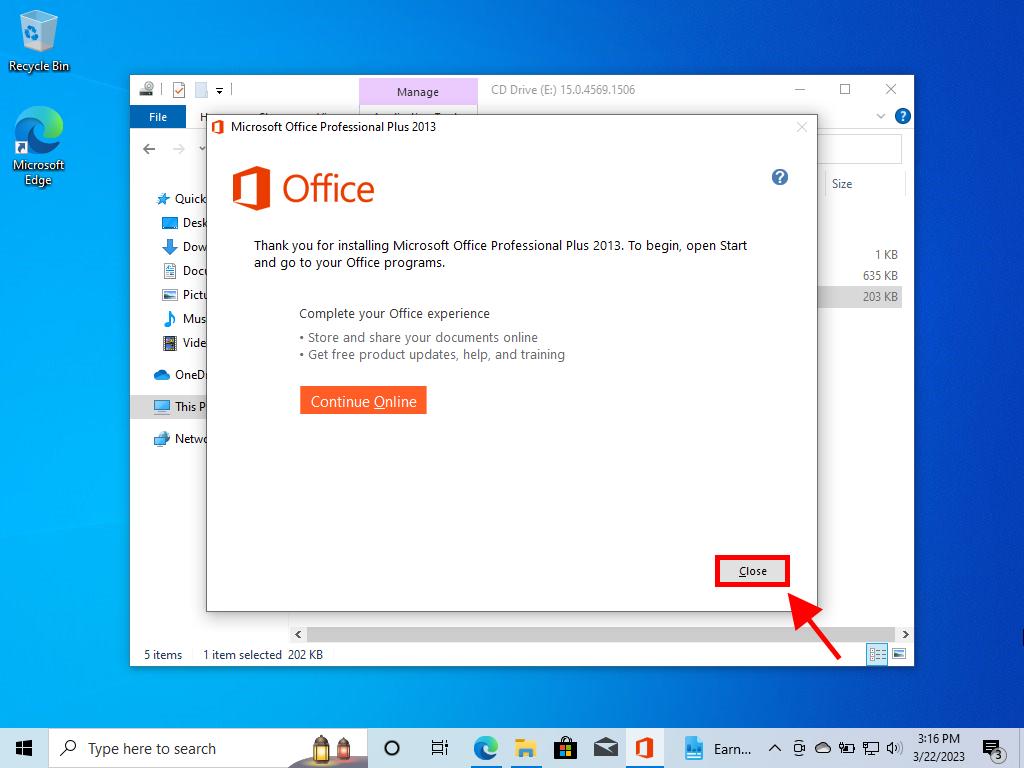
- Finally, click Close.
- This way, you will have successfully installed Office 2013 on your PC.